
Sometimes, a single PowerPoint slide holds all the important details you need in a quick, shareable format. Taking a screenshot is one way to save it, but if you want a high-quality image without losing clarity, PowerPoint has built-in features that do the job much better.
Whether it’s a chart for a report, a graphic for social media, or a key takeaway you want to keep, saving slides as images directly from PowerPoint ensures they stay sharp and professional. Here’s how you can do it in just a few clicks.
How to Save a PowerPoint Slide as an Image?
It’s pretty simple to turn your PowerPoint slides into images. Just follow these steps, and you’ll have your slides saved as pictures in no time.
Step 1: Open Your Presentation
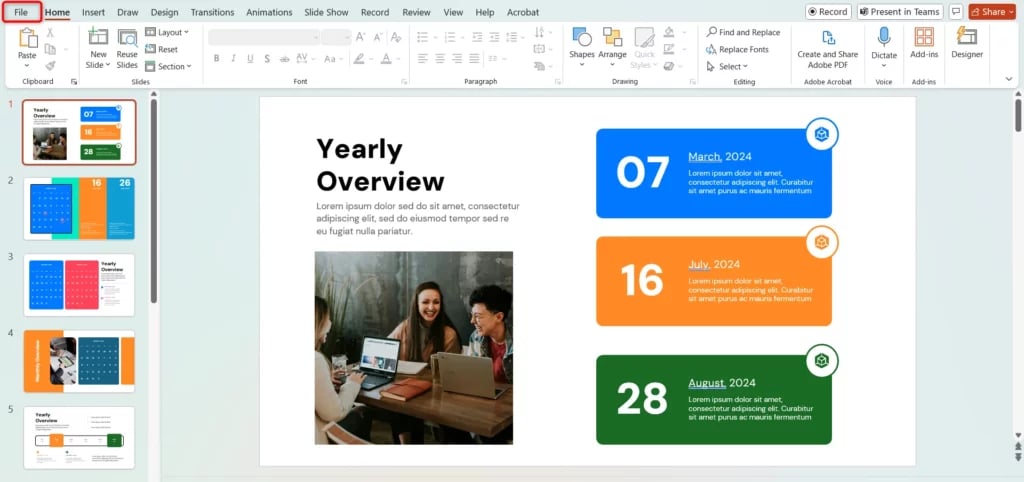
First, open the PowerPoint file that has the slides you want to save as images. Make sure you’re on the right slide if you only need to save one.
Step 2: Go to Save Options
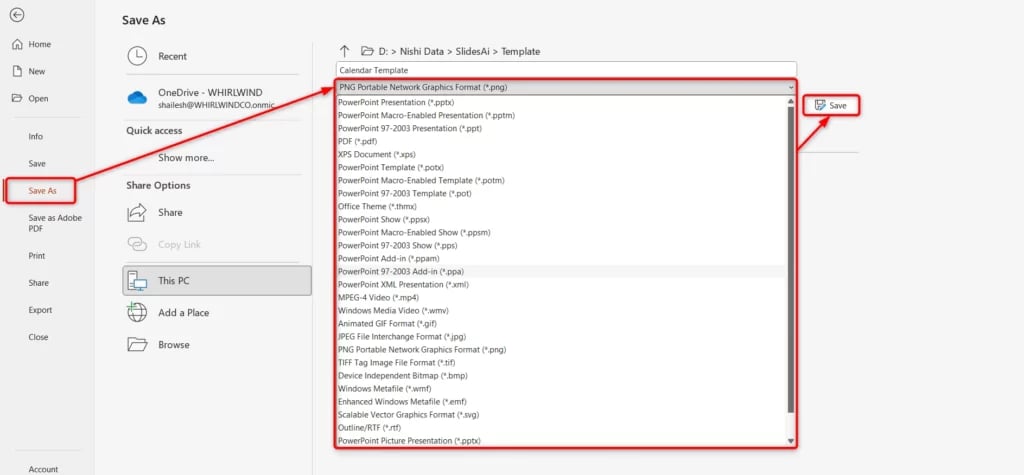
Click on “File” in the top menu. Then choose “Save As” (or “Save a Copy” if your file is stored on OneDrive or SharePoint). A window will pop up where you can pick where to save your images. Choose your desired folder so you can easily find the files later.
Step 3: Choose an Image Format
Now, look for the Save as type drop-down menu. Click on it, and you’ll see a list of file formats. Choose the one that works best for you:
- JPEG (.jpg) – Good for standard images, works well for sharing.
- PNG (.png) – Higher quality with a transparent background option.
- GIF (.gif) – Useful for simple graphics with fewer colors.
- SVG (.svg) – A vector format that keeps images sharp when resized.
Step 4: Save Your Slide(s)
Click Save and a pop-up will appear asking whether you want to save just one slide or all of them.
- Click “Just This One” if you only want to save the slide you’re on.
- Click “All Slides” if you want each slide in your presentation to be saved as a separate image file.

And that’s it! Now you can use your PowerPoint slides as images wherever you need them.
Create presentation slides with AI in Seconds in Google Slides
15M+Installs
Works with Google Slides

Also Read: How to Save PowerPoint as PDF Files?
Why is it Important to Save PowerPoint Slides as Images?
Ever shared a PowerPoint file only to find that the formatting got messed up? Fonts changed, layouts shifted, and suddenly, your well-organized slides looked completely different. Saving your slides as images can help you avoid these issues and make sharing much easier. Here’s why it’s a smart move:
1. Keep Your Formatting Intact
When you save slides as images, everything stays exactly as you designed it. Fonts, graphics, and layouts won’t change, no matter what device or software someone is using to view them.
2. Share Without Hassle
Not everyone has PowerPoint installed on their device. But images? They open everywhere. You can easily send them via email, share them on social media, or drop them into messaging apps without worrying about compatibility issues.
3. Embed Slides into Other Documents
Need to include a slide in a Word document, a PDF, or even on a website? Saving it as an image makes it easy to insert anywhere without worrying about formatting changes. It blends seamlessly into different types of content.
4. Protect Your Content from Editing
If you don’t want others to make changes to your slides, saving them as images is a great option. Once converted, the content is locked in place, making it perfect for final presentations or public sharing.
5. Works on Any Device
PowerPoint versions can vary, and some features may not display properly on different devices. Image files, however, work everywhere—on phones, tablets, laptops, and even smart TVs. No software conflicts, no missing fonts, just a smooth experience.
Create presentation slides with AI in Seconds in Google Slides
- No design skills required
- 3 presentations/month free
- Don’t need to learn a new software
Works with Google Slides

Closing Thoughts
Saving PowerPoint slides as images is a simple way to keep your content clear, shareable, and protected from formatting issues. Whether you’re adding slides to a report, sharing them online, or just keeping them for reference, this method ensures they stay exactly as you designed them. Try it out and make sharing easier!
Frequently Asked Questions
Can I save PowerPoint slides as images in a specific folder?
Yes. You can choose where to save the images while exporting, making it easier to organize and find them later.
Why should I save PowerPoint slides as images?
It helps keep the formatting intact, makes sharing simple, prevents unwanted edits, and works on any device without needing PowerPoint. You can also use the images in other documents.
What image formats can I use?
PowerPoint lets you save slides as JPEG, PNG, GIF, and SVG files.
How do I save all slides as images?
Go to File > Save As. Choose an image format. Click Save. When prompted, select “All Slides” to save each one as a separate image.
Will saving slides as images reduce quality?
It depends on the format. PNG keeps the best quality. JPEG compresses the image slightly. SVG works well for scalable vector graphics.