A brochure is a folded, printed document used for advertising or providing information. Whether you’re promoting a product, service, or event, a well-designed brochure can be a powerful marketing tool.
Google Slides, with its intuitive interface and versatile features, offers a convenient platform to create eye-catching brochures.
In this guide, we’ll walk you through the step-by-step process of creating a brochure that will impress your audience. Let’s get started.
Steps to Create a Brochure on Google Slides
Creating a brochure can be a great way to share information in a visually appealing format. Check out the steps below to see how you can easily design a brochure using Google Slides.
Step 1: Setting Up Your Page Layout
- Open a new Google Slides presentation.
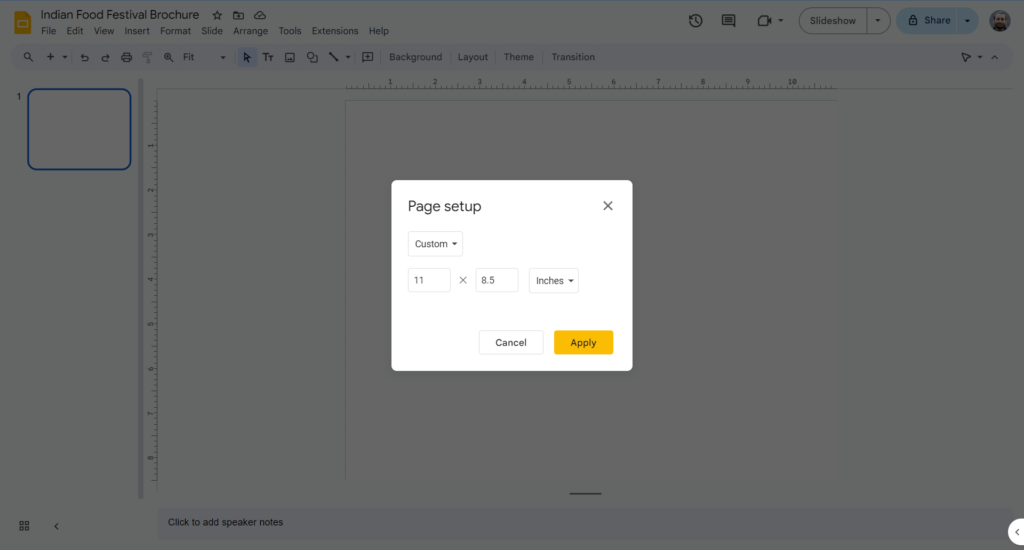
- Click on “File” in the top menu, then select “Page Setup.”
- In the “Page Setup” window, choose “Custom” from the dropdown menu.
- Enter the dimensions for your brochure. A common size is 8.5″ x 11″, but you can adjust this based on your needs.
- You can also choose a professional template from SlidesAI that lets you skip a few steps.
Step 2: Building the Basic Structure
1. Personalize your brochure by choosing a background color or image. Click on “Slide Background” in the toolbar and pick a solid color or upload an image that fits your theme.
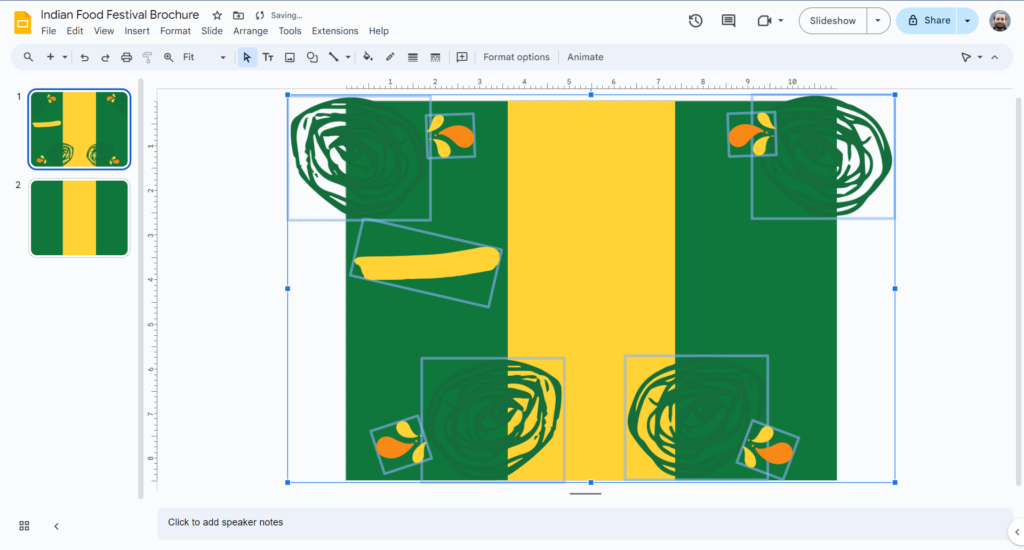
2. Create the basic layout by using the “Shapes” menu to select a rectangle. Drag it onto your slide and resize it to fit a central area. This rectangle will represent one column of your brochure.
3. To add more columns, right-click on the rectangle and select “Duplicate.” Repeat this to create two additional rectangles, resulting in three columns side by side.
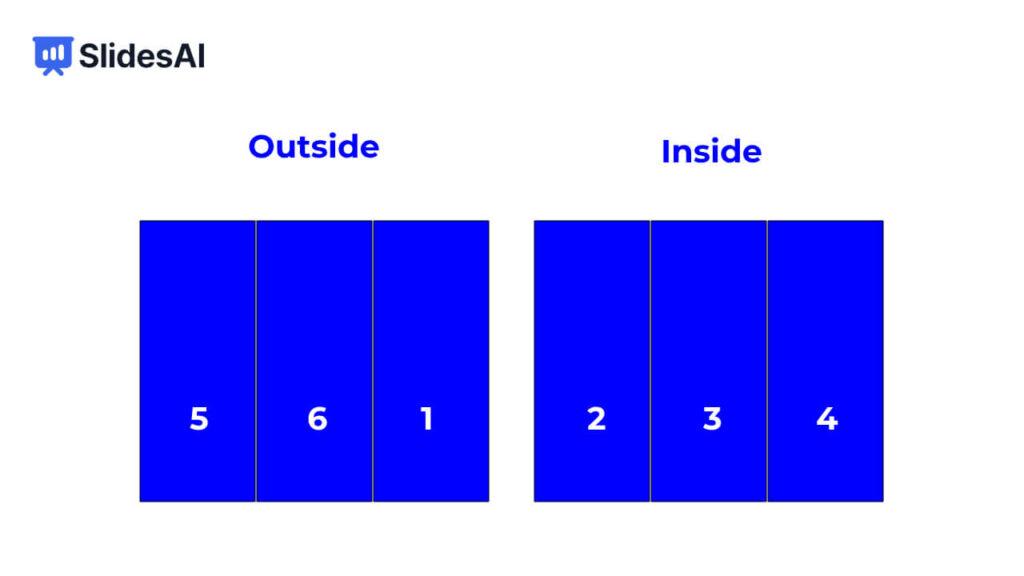
4. Remember, the brochure will fold. The rightmost column will be the front panel, the center column will be the inside spread, and the leftmost column will be the back panel.
Step 3: Designing the Cover
1. To design the cover, duplicate the slide with the three columns to create a new slide for the back panel. This allows you to design each part independently.
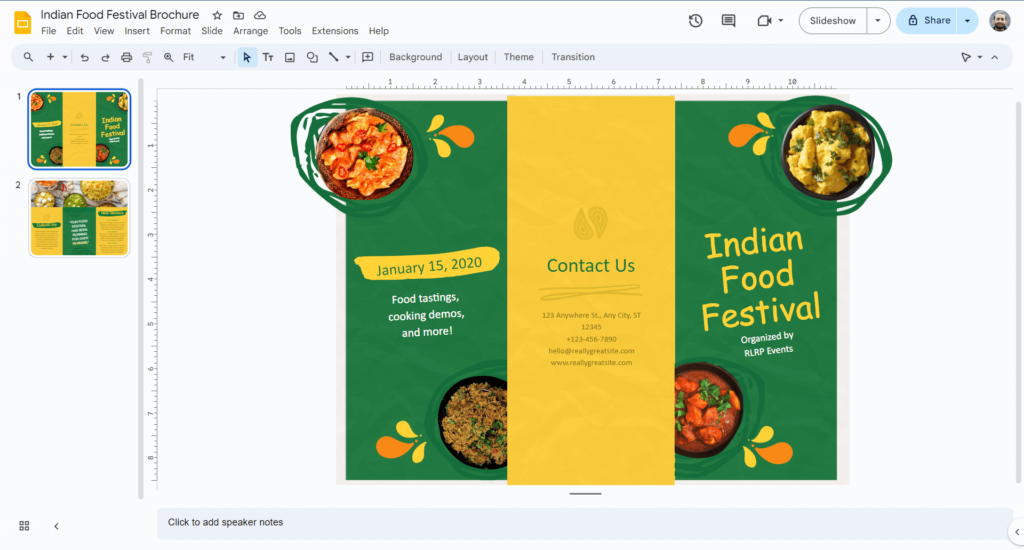
2. Add visuals like images or icons from the “Insert” menu that match your brochure’s theme. Use the “Background” menu to add a background image or pattern.
3. Include text using the “Text Box” tool for headlines, taglines, or brief descriptions. Adjust the fonts, sizes, and colors to make the cover engaging.
Step 4: Adding Content
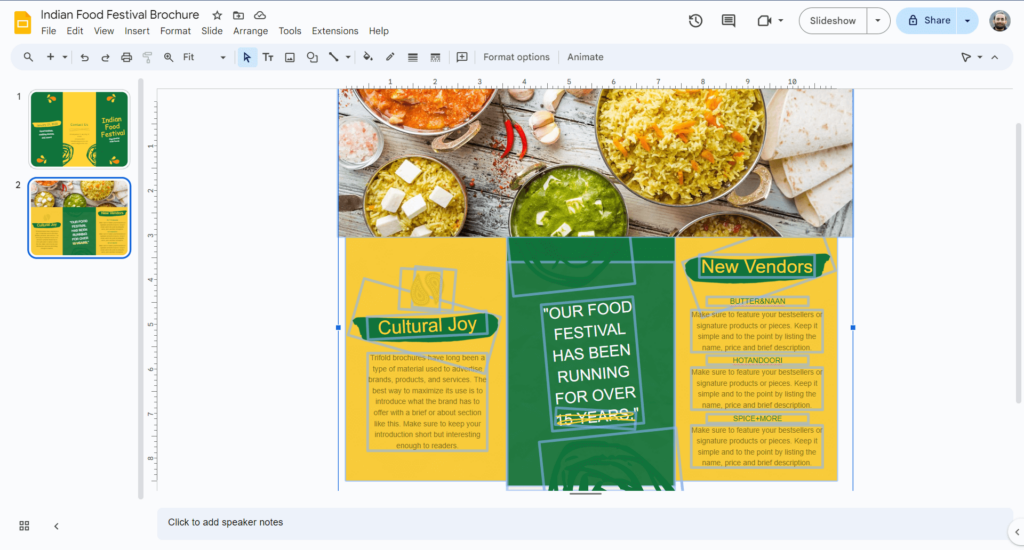
- Switch back to the slide with the three columns for the inside spread and back panel. Use the “Text Box” tool to add detailed content in each column, such as product info, services, event details, or contact information.
- Keep in mind the brochure’s fold. The reading order will be the rightmost column first, followed by the center spread, and then the leftmost column.
- Enhance your content with relevant images, charts, or icons to break up text and make it more engaging.
Step 5: Final Touches
- Review your design for consistency. Use a color scheme that matches your brand or theme, and ensure the fonts are readable.
- Proofread your text for typos, grammatical errors, or inconsistencies.
- Include a call to action, directing your audience on what to do next, such as visiting your website or contacting you.
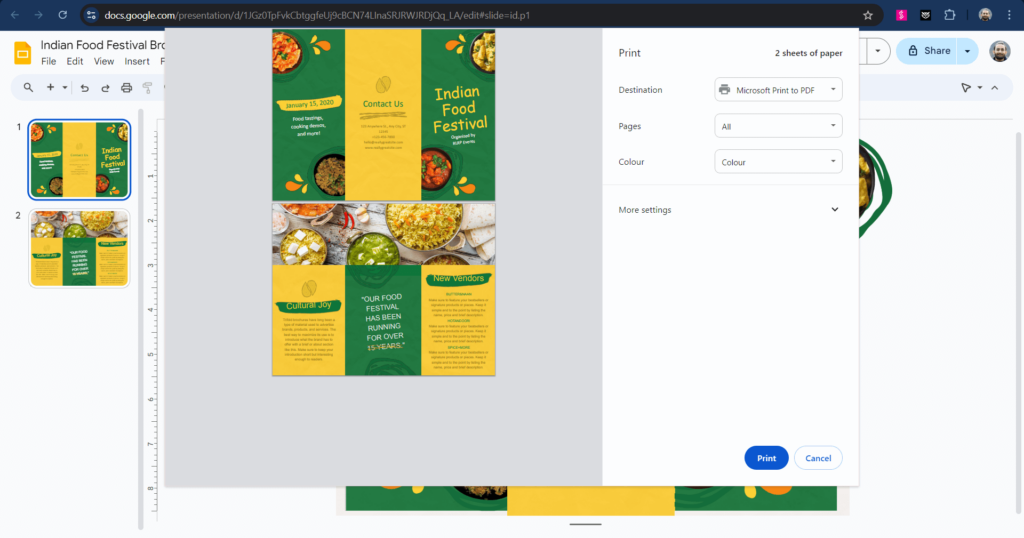
- When you’re satisfied with the design, save your work. You can download your brochure as a PDF or in various image formats for easy printing.
Closing Thoughts
Creating a brochure in Google Slides is a straightforward process that allows you to design professional-looking marketing materials with ease.
By following these simple steps, you can produce an eye-catching brochure that effectively conveys your message. Take advantage of Google Slides’ features to customize your design and ensure your brochure stands out.
Leverage this versatile presentation maker to not only create dynamic slideshows but also to craft compelling brochures, flyers, and other essential marketing collateral.