When preparing for a presentation, it’s often helpful to provide your audience with handouts that they can refer to during your talk. These handouts can serve as a visual aid, allowing attendees to follow along with your slides and take notes. One easy way to create these handouts is by printing multiple slides onto a single page.
This technique can be particularly useful when you want to conserve paper or when you need to create compact handouts that are easy to carry and store. By printing multiple slides on a page, you can reduce the overall number of pages required for your presentation, making it more convenient for your audience to manage and refer to.
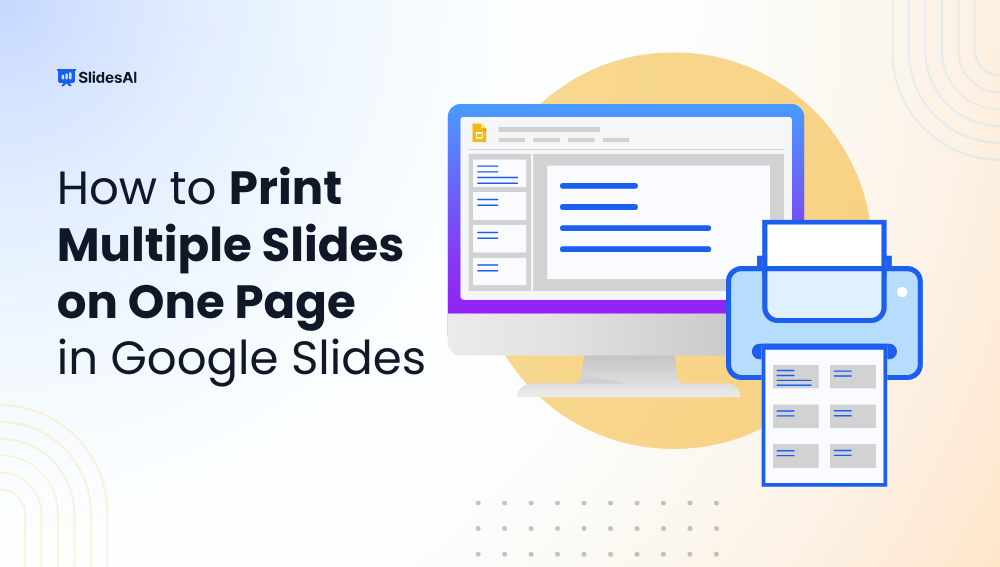
How to Print Multiple Slides on One Page in Google Slides
1. Open Your Presentation
Begin by opening the Google Slides presentation you want to print. Ensure it’s the final version and contains all the necessary slides.
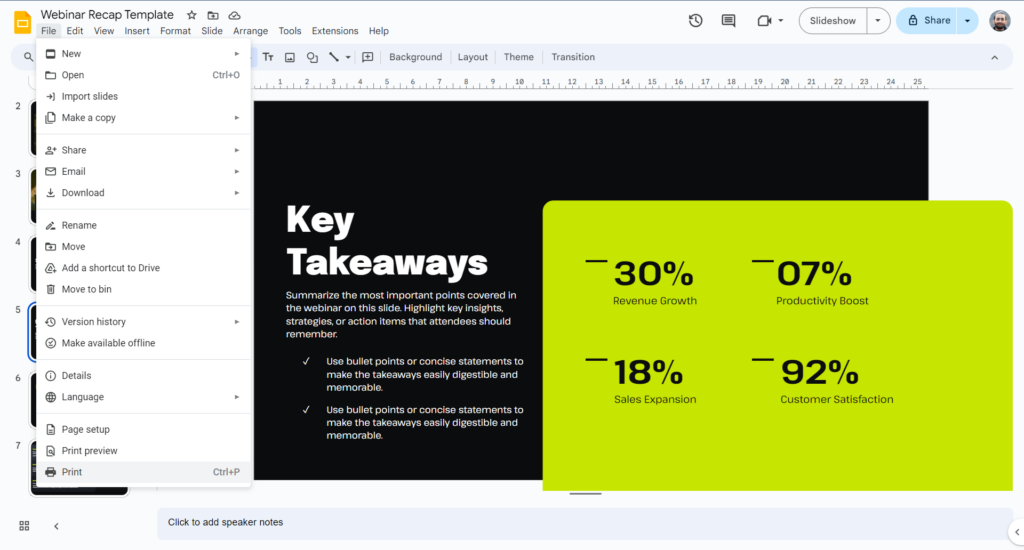
2. Access the Print Settings
- Navigate to the “File” Menu: Click on the “File” tab located at the top left corner of your Google Slides window.
- Select “Print”: From the dropdown menu that appears, choose the “Print” option.
3. Customize Print Settings
- Choose the Layout: Locate the section labeled “Pages” or “Layout” in the print dialog box. This is where you’ll specify the number of slides you want to print on a single page.
- Select the Desired Layout: Choose the appropriate option based on your preference. Common options include 2, 3, 4, 6, or 9 slides per page.
- Preview the Layout: A live preview will be displayed on the screen, allowing you to visualize how your slides will appear on the printed page. This enables you to make adjustments as needed.
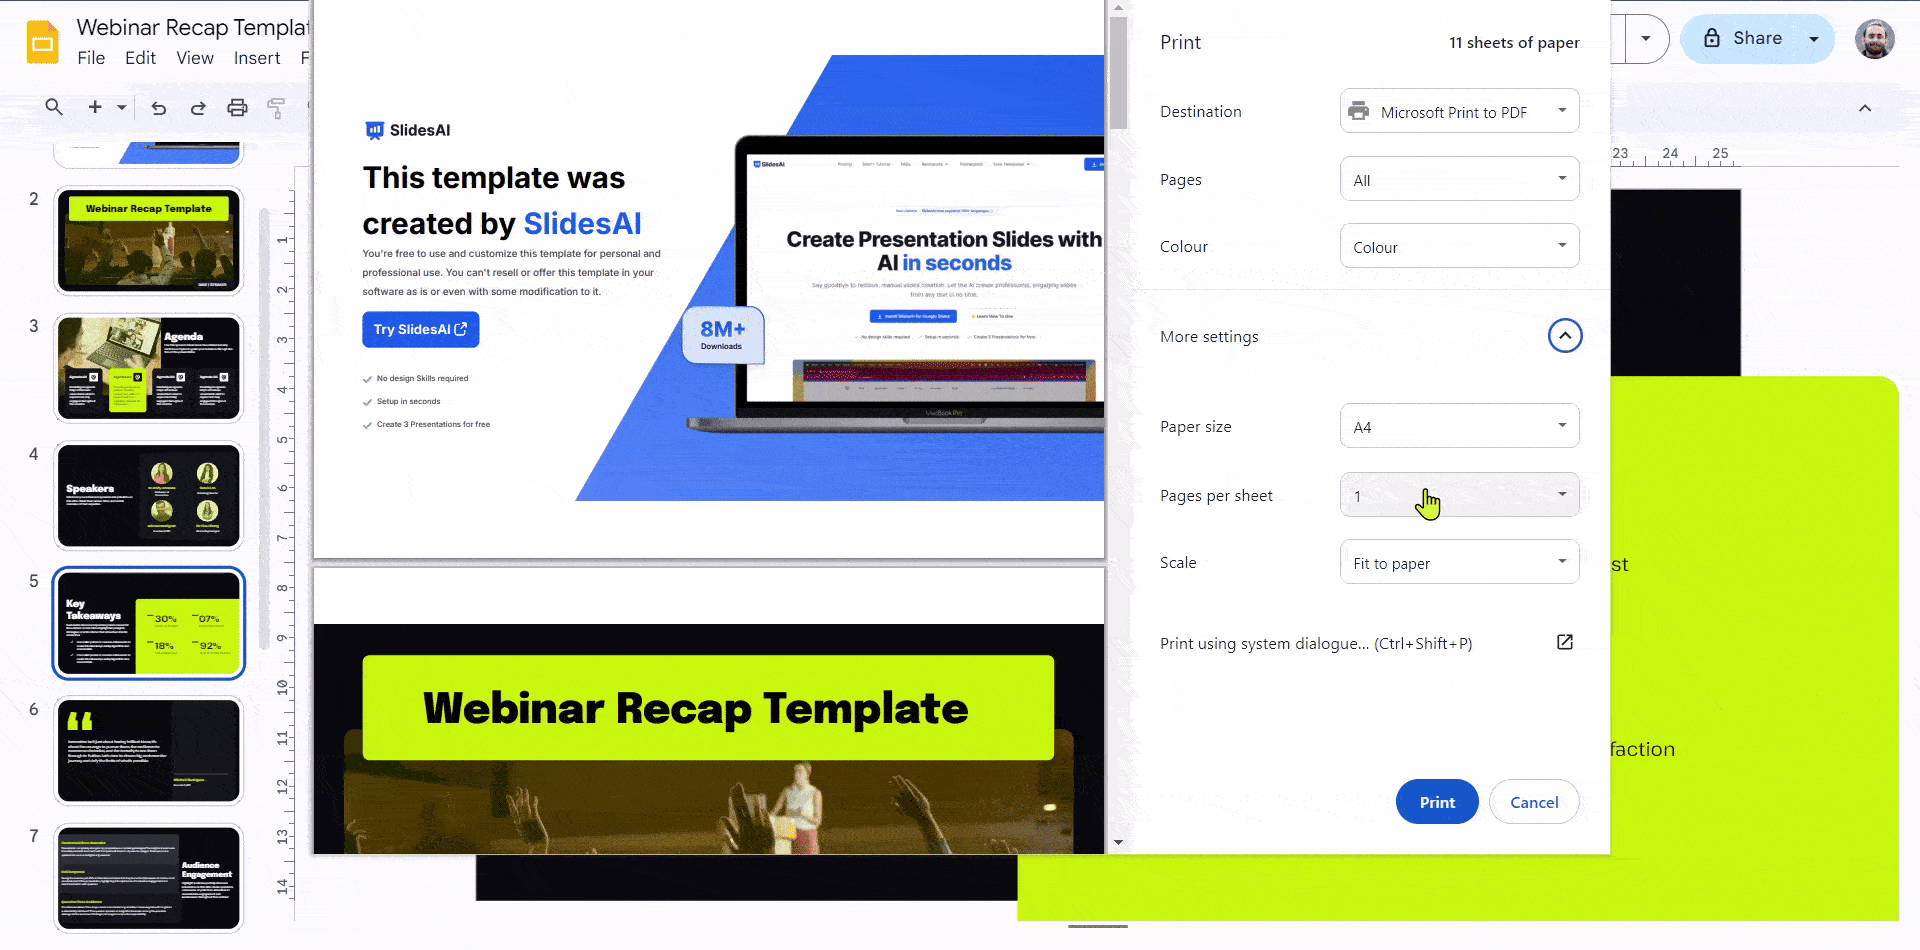
4. Adjust Other Print Settings (Optional)
- Orientation: Select either “Portrait” or “Landscape” to determine the orientation of the printed page.
- Scale to Fit Page: If your slides have varying amounts of content, check this option to ensure everything fits proportionally on the printed page. This helps maintain readability.
5. Print Your Presentation
- Review the Settings: Double-check all the print settings to ensure they’re correct.
- Start Printing: Once you’re satisfied, click the “Print” button to send your presentation to the printer.
Create presentation slides with AI in Seconds in Google Slides
15M+Installs
Works with Google Slides
Closing Thoughts
Printing multiple slides on a single page is an efficient way to create organized and user-friendly handouts for your audience. Whether you’re using Google Slides, these simple steps make the process quick and straightforward. This approach not only saves paper but also ensures that your presentation materials are easy to follow and reference. Try implementing these techniques for your next presentation to enhance audience engagement and professionalism.
Frequently Asked Questions (FAQs)
Can I mix portrait and landscape slides on one handout page?
No, all slides on a handout page must have the same orientation (portrait or landscape).
How do I add headers or footers to my handouts?
Go to Print Settings > Handouts > Edit Header & Footer to customize headers and footers.
Can I print only certain slides in Google Slides?
Not yet. Google Slides only allows printing all selected slides.
Can I print in color or black and white?
Yes, you can choose between color or black-and-white printing in most print settings.