To time slides in Google Slides, start your presentation and click the three-dot menu in the bottom-left corner. Choose Autoplay, select the desired time interval, and enable Loop if needed. For more control, use “Publish to web” under the File menu to automatically advance slides at a fixed interval.
Timing your slides helps you deliver smooth, professional presentations—whether you’re presenting live or sharing them online. If you want to create perfectly timed presentations faster, tools like SlidesAI can help you design and structure slides effortlessly.
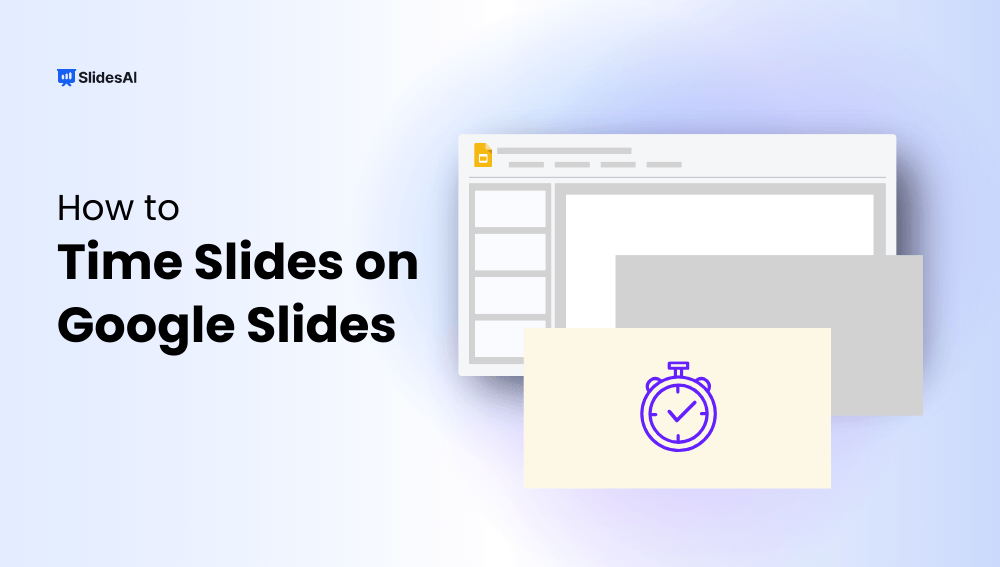
How to Time Slides on Google Slides?
While Google Slides doesn’t offer the ability to set individual timing for each slide, you can establish a consistent time interval for transitions between all slides. This is a great option for presentations with a clear, logical flow and a similar amount of information on each slide.
Here’s a step-by-step guide to take control of your presentation’s pacing:
Method 1: By Publishing on the Web

1. Accessing the Timing Controls: Open your Google Slides presentation. Head to the top menu bar and click on “File.” Now, hover over “Share” and select “Publish to the web.” This will open a separate window with various publishing options.
2. Setting the Auto-Advance Interval: Within the “Publish to the web” window, navigate to the “Link” tab. Locate the section labeled “Auto-advance slides.” Here, you’ll find a dropdown menu offering different pre-set timing options for transitions between slides, ranging from “After each slide” (immediate transitions) to longer intervals in seconds or minutes.
3. Choosing Your Ideal Pace: Consider the content of your presentation and the desired pace when selecting the timing from the dropdown menu. Options like “Every 5 seconds” are suitable for presentations with concise information, while longer intervals like “Every minute” allow for more in-depth exploration of topics.
4. Additional Options (Optional): The “Publish to the web” window provides some further customization options to enhance your presentation:
- Start slideshow automatically: You can choose to have the slideshow begin automatically once the audience clicks on the presentation link, eliminating the need for manual clicking.
- Enable looping: Opt for looping to have the presentation automatically restart from the beginning after reaching the final slide. This can be particularly useful for presentations displayed in kiosks or on informational screens.
5. Publish and Present: Once you’ve configured the timing and any additional options you desire, click the “Publish” button followed by “OK.” You’ll receive a link that you can share with your audience or use for online presentations.
Method 2: Enable Autoplay During a Live Presentation
Step 1: Begin your presentation by clicking the Slideshow button.
Step 2: Move your cursor to the bottom-left corner of the screen to display the navigation toolbar.
Step 3: Click the three-dot (⋮) More menu icon.
Step 4: Hover over Autoplay and select your preferred timing interval.
Step 5: If you want the slides to repeat, enable the Loop option.
Step 6: Finally, click Play to start the presentation with automatic slide transitions.
Also Read: How to Add a Timer to Google Slides?
Closing Thoughts
Taking the time to manage your slide timing in Google Slides can make a big difference. A well-paced presentation will come across as confident, informative, and keep your audience engaged. By using the technique covered here, you can ditch the need for frantic clicking and deliver a presentation at a smooth, controlled pace.
Create perfectly timed presentations faster with an AI presentation generator.
Create Presentations Easily in Google Slides and PowerPoint
14M+Installs

Frequently Asked Questions About Time Slides on Google Slides
Why should I time my Google Slides?
Timing is essential for a polished presentation, keeping your audience engaged and ensuring a smooth flow of information. Timing also allows you to effectively plan and structure your content, making the presentation more impactful and engaging for your audience.
What if I want my published slides to advance at specific intervals automatically?
The “Publish to web” function offers a variety of pre-set options for automatic slide advancement. While it doesn’t allow for completely customized timings per slide, you can choose an interval that best suits your content and desired pace.
Can I set a specific time for each slide?
Unfortunately, Google Slides doesn’t currently allow setting individual timing for each slide within the presentation mode or autoplay function.
Can I still edit my presentation after publishing it to the web?
Yes, you can continue editing your Google Slides presentation. The timing adjustments only affect the published version.
- How to Add Google Slides Animations?
- How to Make an Object Bounce in Google Slides (Quick Guide)
- How to Time Slides on Google Slides?CURRENT ARTICLE
- How to Play Google Slides on Loop?NEXT UP
- How to Add a Timer to Google Slides? 2 Easy Methods