Creating a great presentation is not just about adding content; it’s also about maintaining a consistent look and feel across all slides. This is where the PowerPoint Master Slide plays an important role. If you’ve ever wondered how to edit master slide in PowerPoint or struggled to make uniform changes, this blog is for you. In just a few easy steps, you’ll learn and customize layouts, fonts, colors, and branding effortlessly.
What are Master Slides?
Master Slides are templates that control the overall design of your presentation. By learning how to edit master a slide in PowerPoint, you can make universal changes that automatically apply to all slides, saving time and effort.
What are the Components of a Master Slide?
Before you dive into how to edit slide master in PowerPoint, let’s first understand what makes up a Master Slide:
- Slide Layouts: These are ready-made designs that tell you where to put titles, text, and pictures.
- Placeholders: These are the boxes where you can add text, images, or other content.
- Themes: These decide the colors, fonts, and styles of your whole presentation.
Benefits of Customizing Master Slides
Now that you know why the Master Slide is helpful, let me share why learning how to edit master slide in PowerPoint is so useful:
- Save time with one edit for all slides: Instead of changing each slide, you make one change on the Master Slide, and it automatically applies to all.
- Keep everything matching: You can add your company’s logo, choose brand colors, and set fonts so that all slides look the same.
- Make your presentation look smart and tidy: A clean, uniform look leaves a good impression on your audience.
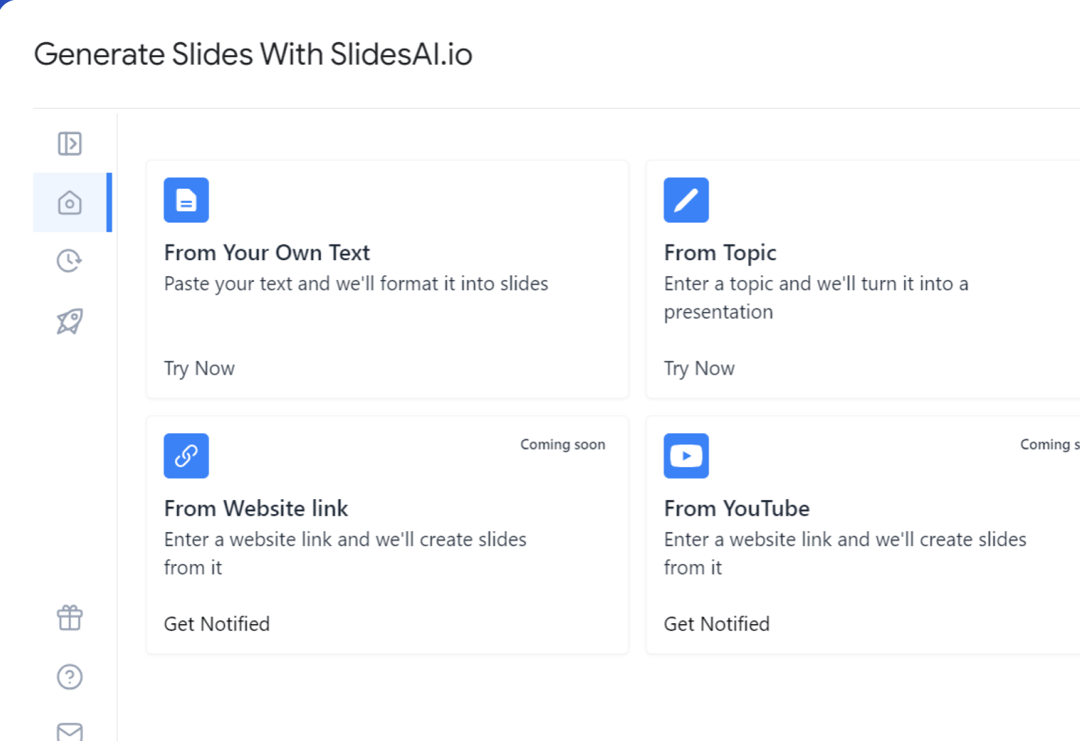
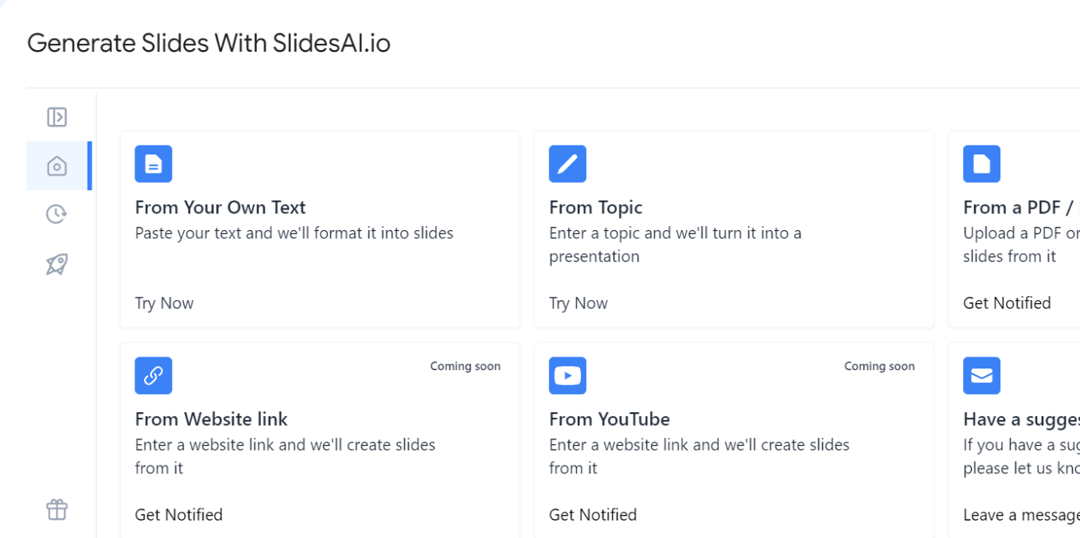
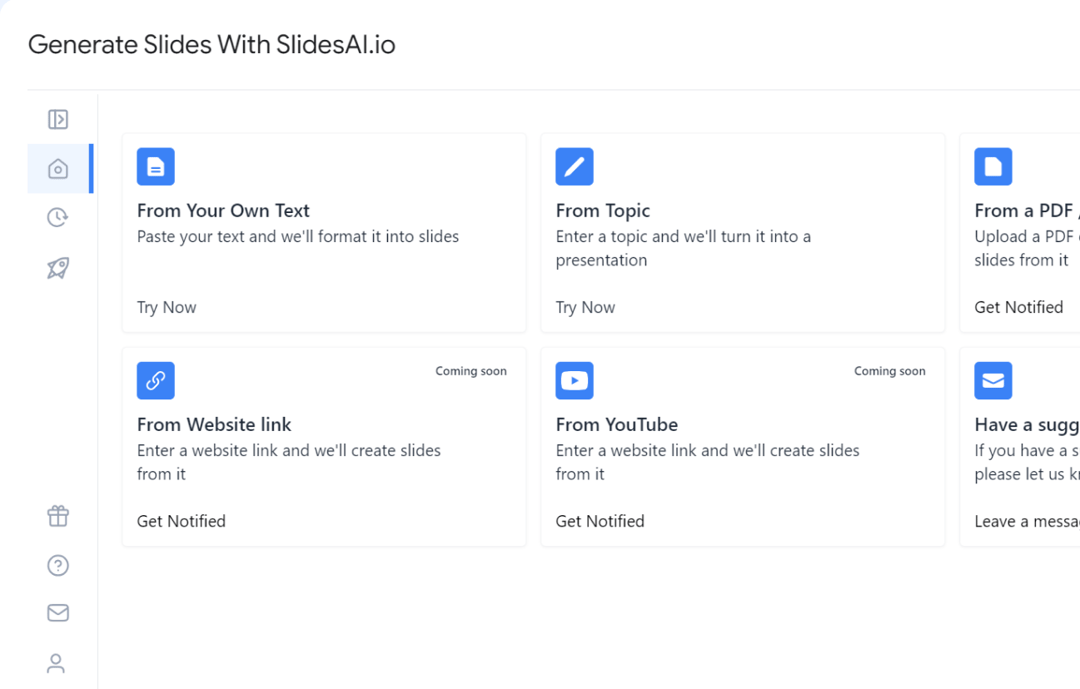
Create presentation slides with AI in Seconds in Google Slides
15M+Installs
Works with Google Slides
How to Edit Master Slide in PowerPoint?
Follow these simple steps on how to edit master a slide in PowerPoint:
Step 1: Open Slide Master View
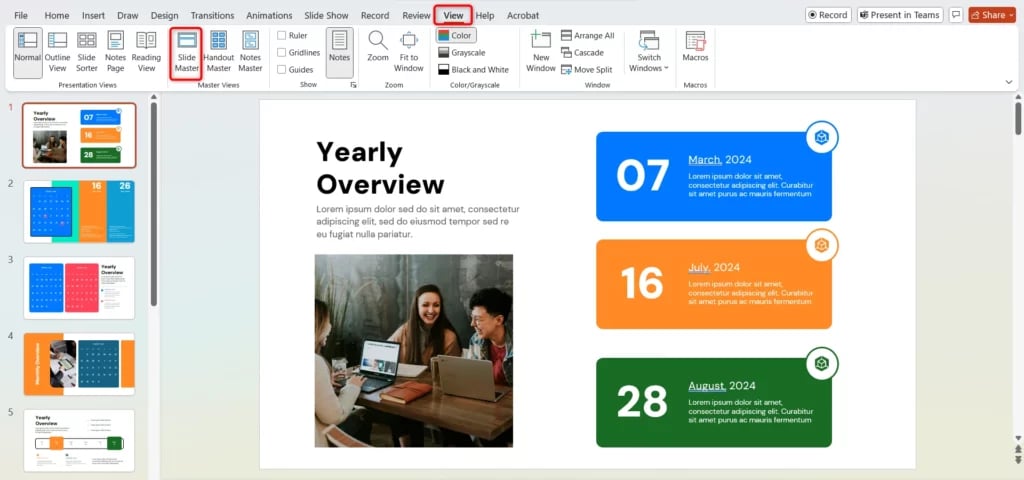
- Open your PowerPoint presentation.
- Click on the View tab in the ribbon.
- Select Slide Master from the Master Views group.
Step 2: Edit the Master Slide
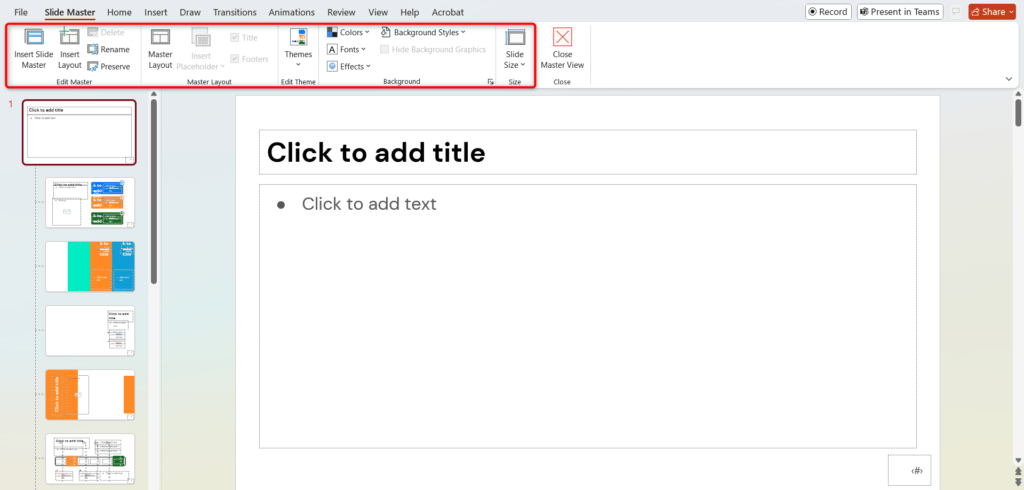
- The Master Slide is the topmost slide in the left panel. Changes here will affect all slides.
- Modify the background, fonts, colors, and placeholders.
- To adjust specific layouts, edit the slides below the Master Slide.
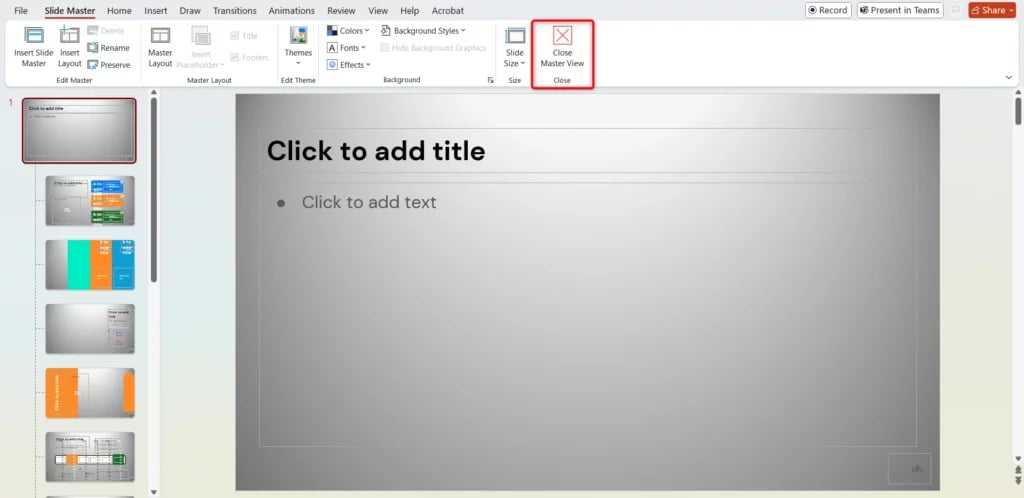
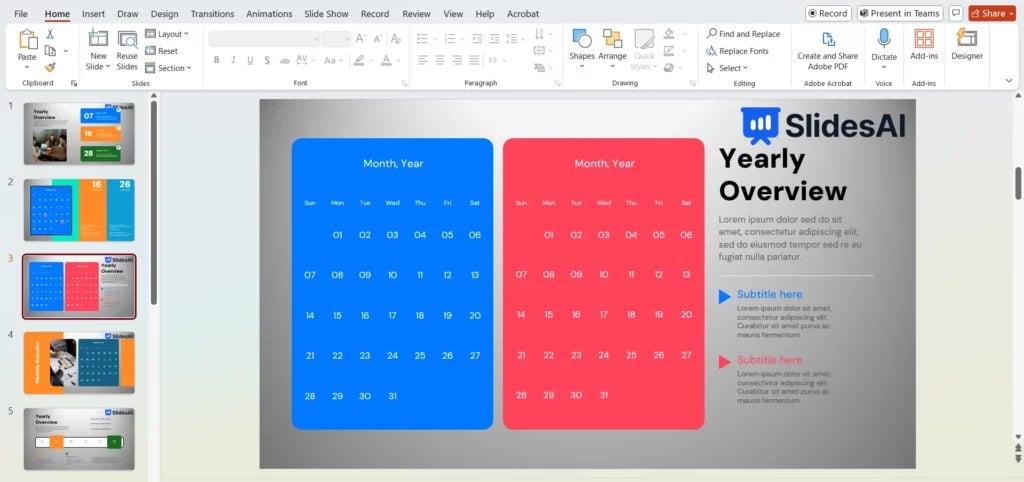
Step 3: Apply Changes
- After making your edits, click Close Master View in the ribbon.
- Your changes will now be applied to all slides.
Create presentation slides with AI in Seconds in Google Slides
- No design skills required
- 3 presentations/month free
- Don’t need to learn a new software
Works with Google Slides
Changes You Can Make in Master Slide
Once you know how to edit the master slide in PowerPoint, here are the changes you can apply:
A. Customizing the Slide Layout
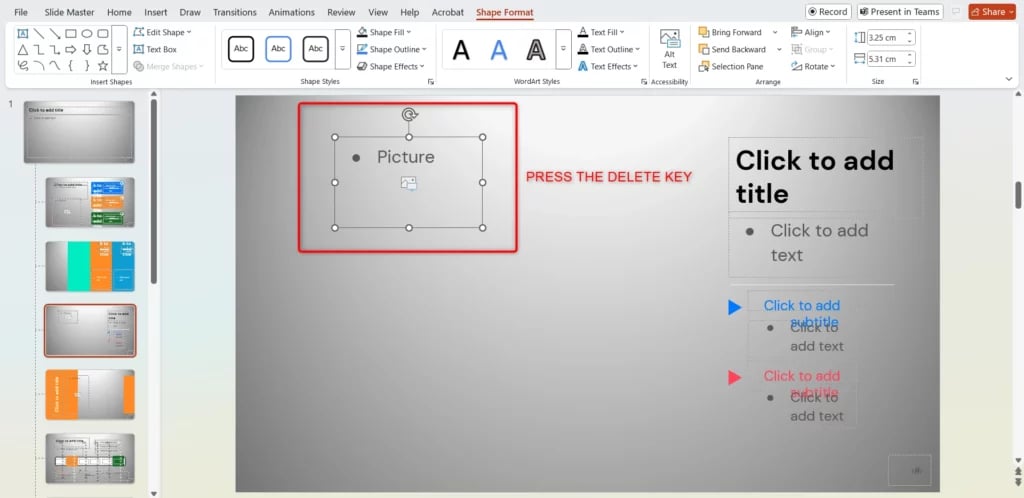
Adding or Removing Placeholders:
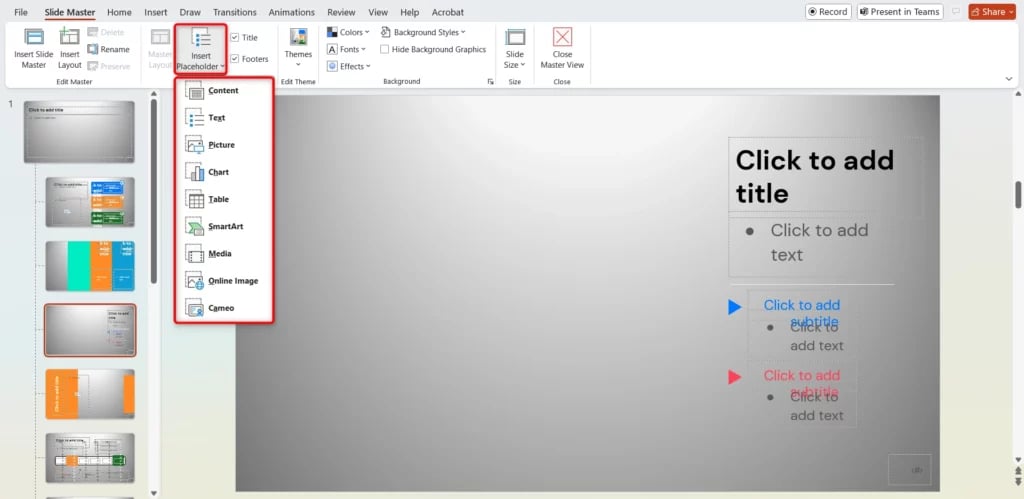
- To add a placeholder, go to the Slide Master tab, click Insert Placeholder, and choose the type (e.g., text, picture).
- To remove a placeholder, select it and press the Delete key.
Adjusting Placeholder Size and Position:
- Click and drag the edges of a placeholder to resize it.
- Move placeholders by clicking and dragging them.
B. Changing the Background Design
Applying Colors, Gradients, or Images:
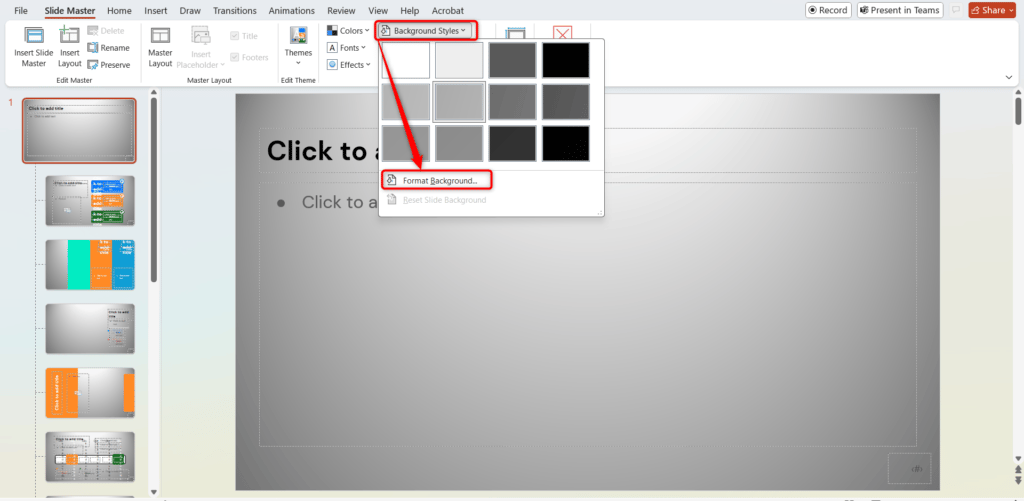
- Go to the Slide Master tab and click Background Styles.
- Choose a solid color, gradient, or image from your computer.
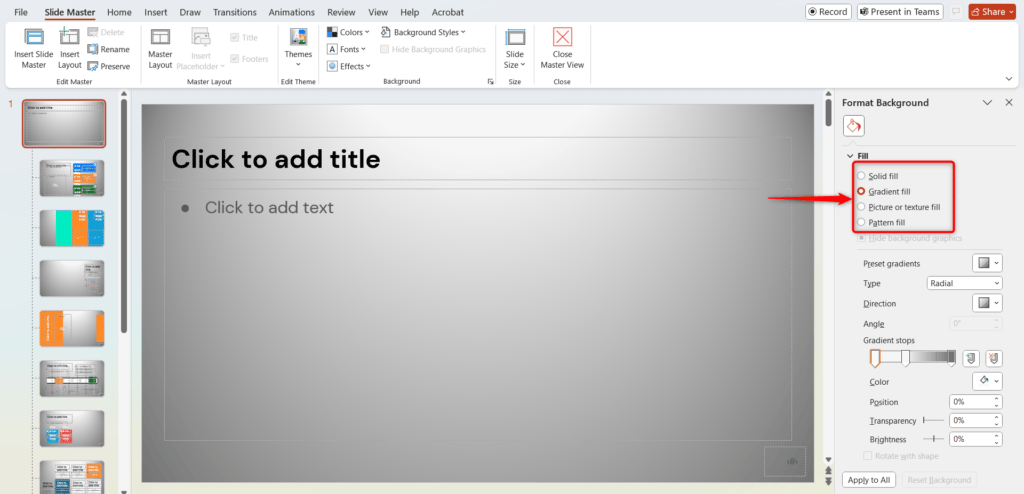
Using Transparency Effects:
- Right-click the background and select Format Background.
- Adjust the transparency slider to create a subtle effect.

C. Modifying Fonts and Text Styles
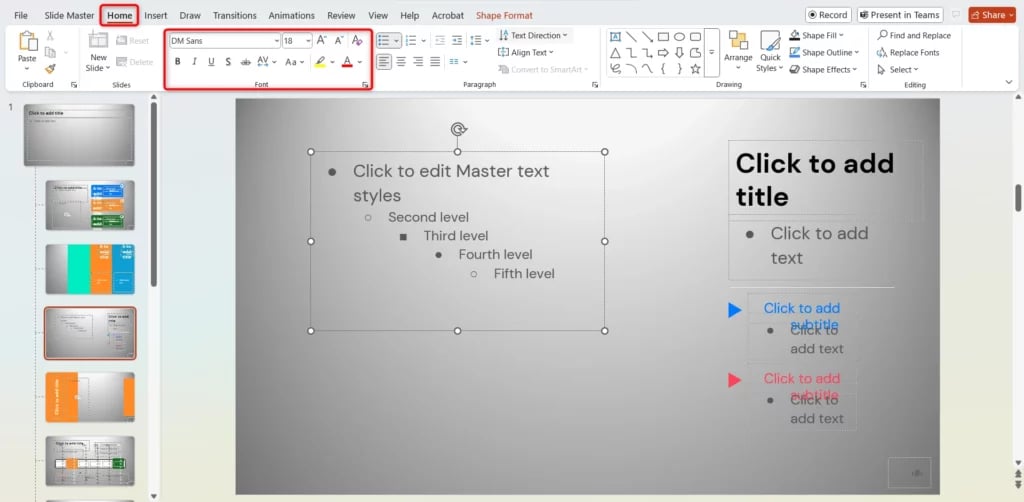
Changing Font Type, Size, and Color:
- Select the text placeholder and use the Home tab to change fonts.
- Make sure to apply the same formatting to all text placeholders for a uniform look.
Applying Consistent Text Formatting:
- Use the Slide Master tab to set default fonts for titles and body text.
D. Inserting Logos or Branding Elements
Adding Images or Graphics:
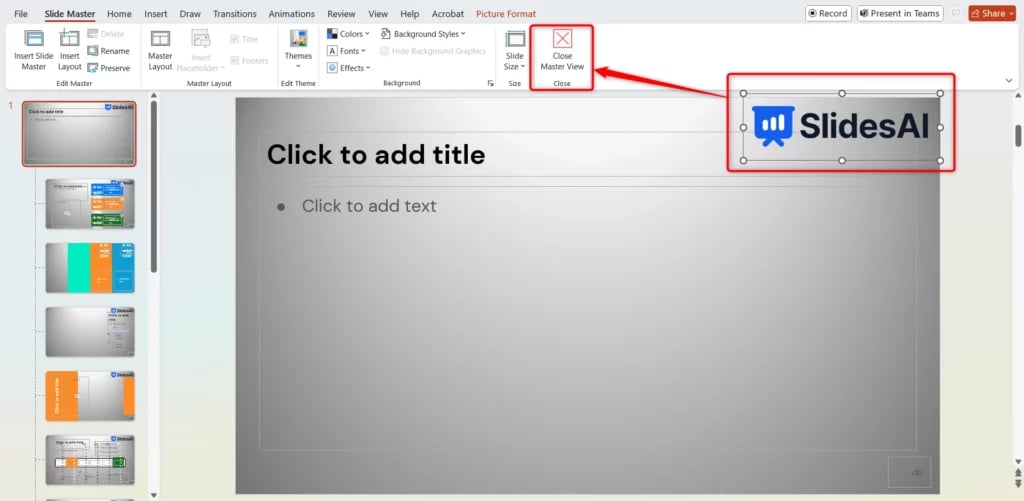
- Go to the Insert tab and click Pictures to add your company logo.
- Resize and position the image in the header or footer area.
Ensuring Consistency Across Slides:
- Add logos or branding elements on the Master Slide to ensure they appear on every slide.
Now that you know how to edit master slide in PowerPoint, you can make your presentations more polished and professional. Don’t hesitate to explore different layouts, backgrounds, and branding options. Whether it’s learning how to edit slide master in PowerPoint or how to add editable text box in slide master PowerPoint, practice makes perfect. Start experimenting and see how much time and effort you can save!
Create presentation slides with AI in Seconds in Google Slides
- No design skills required
- 3 presentations/month free
- Don’t need to learn a new software
Works with Google Slides
Frequently Asked Questions
How do I exit the Master Slide view?
You have to click on Close Master View in the Slide Master tab or switch to Normal View.
Can I change the font style for all slides using the Master Slide?
Yes! Just modify the font style in the Master Slide, and it will apply to all slides that use that layout.
How do I add a company logo to all slides?
You have to insert the logo on the Master Slide, position it where you like, and it will show up on all slides.
Can I use multiple Master Slides in a single presentation?
Yes, PowerPoint allows you to create and use multiple Master Slides for different sections of your presentation.
How do I reset a slide to follow the Master Slide design?
You have to right-click on the slide, select Reset Slide, and it will return to the Master Slide settings.
What happens if I modify a single slide after applying a Master Slide?
Any changes you make on that slide will override the Master Slide settings for that specific slide only.