
Tired of your Google Slides looking dull and boring? It’s time to unleash your inner designer! Google Slides isn’t just for presentations; it’s a versatile tool for creating reports, handbooks, and even interactive documents.
But with so much text involved, how do you make it pop? Well, fear not because this guide is packed with tips and tricks to format your text like a pro. Let’s get started and transform your slides from ordinary to extraordinary!
Method 1: Format Text in Google Slides Using Toolbar Options
Google Slides offers a variety of tools to customize your text and make it visually appealing. Let’s explore some of the basic formatting options:
1. Basic Formatting:
- Changing Fonts: To change the font of your text, simply select it and click on the font dropdown arrow. From there, you can choose from a wide range of fonts.
- Adjusting Font Size: Need larger or smaller text? Select the text, then choose the appropriate size from the font size dropdown.
- Bold, Italics, and Underline: Want to emphasize certain words or phrases? Use the bold (B), italic (I), and underline (U) icons to add these styles.
2. Color and Alignment:
- Text Color: Change the color of your text to match your theme or highlight important points. Just select the text and pick a color from the text color dropdown.
- Highlight Color: Want to draw attention to specific sections? Highlight the text and choose a color to shade it.
- Alignment: Control the horizontal and vertical positioning of your text. Use the alignment icons to align text to the left, center, right, or justify it.

3. Lists and Indentation:
- Numbered and Bulleted Lists: Organize your information using numbered or bulleted lists. Simply select the text and click the corresponding icon.
- Indentation: Adjust the spacing of your text using the increase and decrease indent icons.
4. Links and Formatting Removal:
- Inserting Links: Make your text clickable by adding links to websites or other documents. Select the text, click the “Insert link” icon, and paste the URL.
- Clearing Formatting: Want to start fresh? Remove all formatting from your text by selecting it and clicking “Clear formatting.”
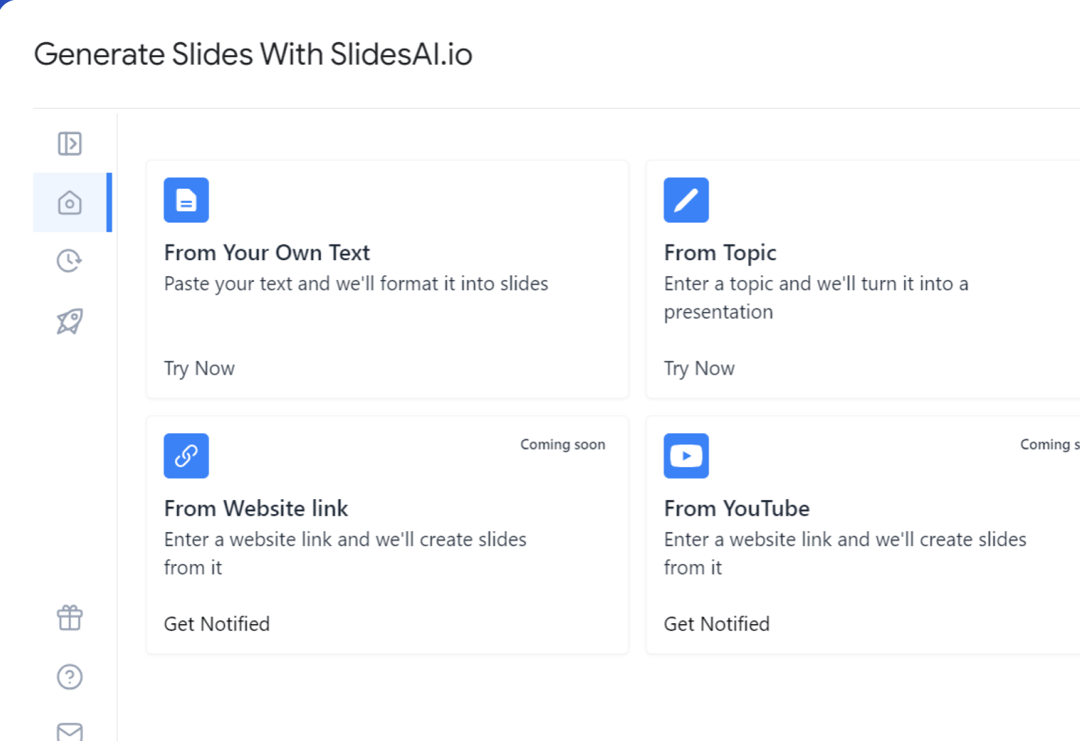
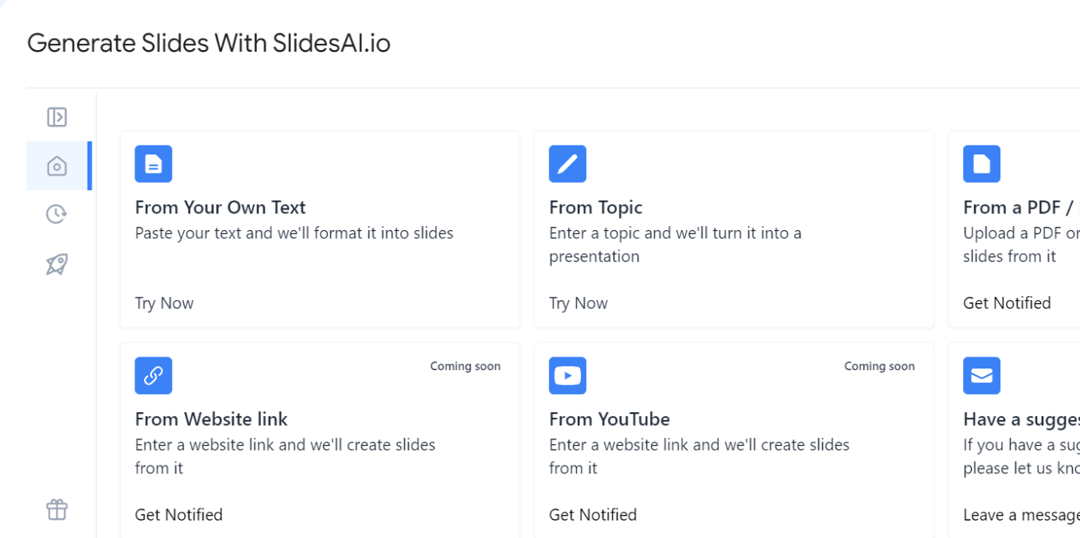
Create presentation slides with AI in Seconds in Google Slides
15M+Installs
Works with Google Slides
Method 2: Cloning Text Styles with the Paint Format Tool
Google Slides offers a handy feature called “Paint format” that lets you effortlessly copy and apply text styles from one place to another. Instead of manually adjusting fonts, sizes, colors, and other settings, you can simply “paint” the style onto your desired text.
Here’s how it works:
- Select Your Source Text: Identify the text whose formatting you want to duplicate.
- Activate Paint Format: Click the “Paint format” icon, which looks like a paintbrush.
- Target Your Destination Text: Click on the text where you’d like to apply the copied style.
- Watch the Magic Happen: The destination text will instantly adopt the same formatting as the source.
For more advanced copying:
- Double-click Paint Format: This enables you to apply the copied style to multiple texts in a row.
- Keep Painting: As long as the paintbrush cursor is active, you can select and format additional texts.
When you’re finished:
Click Paint Format to deactivate the tool and prevent accidental style changes.
By using the Paint format tool, you can quickly and efficiently create consistent and visually appealing text throughout your Google Slides presentation.
Method 3: Format Text in Google Slides Using Format Options
To customize the appearance of text in your Google Slides presentation, you can also use the Format Options menu. Here’s how:
1. Select the Text Box
Locate the slide containing the text box you want to modify. Click on the text box to select it.
2. Access Format Options
Look for the “Format” menu at the top of your Google Slides window. Click on it, then choose “Format options.”
3. Adjust Size and Rotation
Size: To change the dimensions of the text box, go to “Size & Position” in the Format options. Modify the “Height” and “Width” values as needed.
Rotation: If you want to rotate the text, click on “Rotate” from the drop-down menu. Select the desired angle to tilt the text.
4. Position the Text Box
Coordinates: Use the “Position” option to precisely control the placement of the text box. Adjust the X and Y coordinates to move it horizontally or vertically.
5. Fine-Tune Text Fitting:
- Indentation: Under “Text Fitting,” you can create indents for your text by setting the indentation value.
- Autofit: Choose how the text should behave when it exceeds the text box’s boundaries:
- Do not autofit: The text will overflow the text box.
- Shrink text on overflow: The text will automatically resize to fit within the box.
- Resize shape to fit text: The text box will adjust its size to accommodate the text.
- Padding: Add space between the text and the edges of the text box using the “Padding” option.
6. Apply Drop Shadows
- Customize appearance: Go to “Drop Shadow” and adjust the following settings:
- Color: Select the color of the shadow.
- Opacity: Control the intensity of the shadow effect.
- Angle: Determine the direction of the shadow.
- Distance: Set the distance between the text and the shadow.
- Blur Radius: Adjust the blurriness of the shadow.
7. Add Reflections
- Enhance Visual Appeal: Under “Reflection,” customize the transparency, distance, and size of the reflection to create a more polished look.
Create presentation slides with AI in Seconds in Google Slides
- No design skills required
- 3 presentations/month free
- Don’t need to learn a new software
Works with Google Slides
Closing Thoughts
With these simple methods, you can easily enhance the appearance of your text in Google Slides. Whether you’re working on a presentation, report, or interactive document, these formatting tips will help your content stand out and look professional. Give them a try, and see the difference it makes!
Frequently Asked Questions
1. Can I change all text in Google Slides simultaneously?
Yes, you can use the “Replace All” function to quickly modify all instances of a specific word or phrase throughout your presentation.
2. What formatting options are available for text in Google Slides?
You can customize the text by adjusting font, size, color, bold, italic, underline, strikethrough, alignment, and bullet points.
3. How can I create unique text shapes in Google Slides?
Use the “Draw” tool to create custom shapes and then add text to them, allowing for creative and visually appealing layouts.
4. How can I enhance the appearance of text in my slides?
Experiment with different font combinations, color palettes, and spacing to improve readability and visual appeal. Consider using high-quality images and graphics to complement your text.