Google Slides is a handy tool for creating presentations and comes with many features to help you tell your story visually. One useful feature is the ability to create and customize tables. Tables are great for organizing and displaying data clearly, making them a useful addition to any presentation. In this guide, we’ll show you how to create, customize, and format tables in Google Slides.
How to Make a Table on Google Slides?
- Launch Your Presentation: Begin by opening the Google Slides presentation where you’d like to insert a table.
- Navigate to the Desired Slide: Locate the specific slide where you intend to place the table. This could be a new slide or an existing one.
- Access the Insert Menu: Click on the “Insert” option located at the top of the screen. This will open a dropdown menu with various options.
- Select the “Table” Option: From the dropdown menu, choose “Table.” This will bring up a grid of cells where you can create your table.
- Choose the Dimensions: Determine the size of your table by selecting the number of rows and columns you need. The grid will adjust accordingly to match your chosen dimensions.
- Customize Your Table (Optional): Once you’ve created the basic table structure, you can further customize it to suit your needs. This includes adding borders, changing colors, and adjusting cell width and height. These customization options will be covered in more detail in the next section.
- Arrange and Align: To position the table within the slide, drag and drop it to the desired location. You can also use the alignment tools to center, left-align, or right-align the table.
Want to learn how to visualize different types of data? Check out how to make a pie chart, create a candlestick chart, or build a flowchart right within Google Slides.
Create Presentations Easily in Google Slides and PowerPoint
15M+Installs
How to Format Table in Google Slides?
Once you’ve added a table to your Google Slides presentation, it’s time to make it look its best. Here’s how to format your table data to ensure a clear and professional presentation:
- Adjusting Size and Position: To resize a table, click and drag its corners or edges. If you want to move the table to a different spot on the slide, click and drag the whole table.
- Changing Font, Color, and Alignment: To change the text within a cell or multiple cells, first select the text. Then, use the formatting toolbar at the top of the screen to adjust the font style, size, color, and alignment.
- Adding Borders and Shading: Right-click on the table and choose “Table properties.” In the “Borders and Shading” tab, you can customize the look of the table’s borders and shading.
- Merging and Splitting Cells: To merge or split cells, first select the cells you want to adjust. Then right-click and select the appropriate option from the menu.
- Entering Text and Numbers: Click on a cell to start typing your text or numbers. Use the tab key to move to the next cell quickly.
- Formatting Text Styles: To apply styles like bold, italic, or underline, use the formatting toolbar. Consistent formatting helps keep headings and data organized.
- Number Formatting: Right-click on a cell with numbers, then select “Number format” to choose how you want the numbers displayed, such as currency, percentage, or with specific decimal places.
- Aligning Text: To align text within cells, use the alignment buttons on the formatting toolbar to set the text to the left, center, or right.
To further enhance the layout, consider adding a border to sections or creating a clean title page for your slides.
How to Delete Tables, Rows, and Columns in Google Slides?
When working with tables in Google Slides, you may need to delete entire tables, rows, or columns to refine your presentation. Here’s a step-by-step guide to removing these elements:
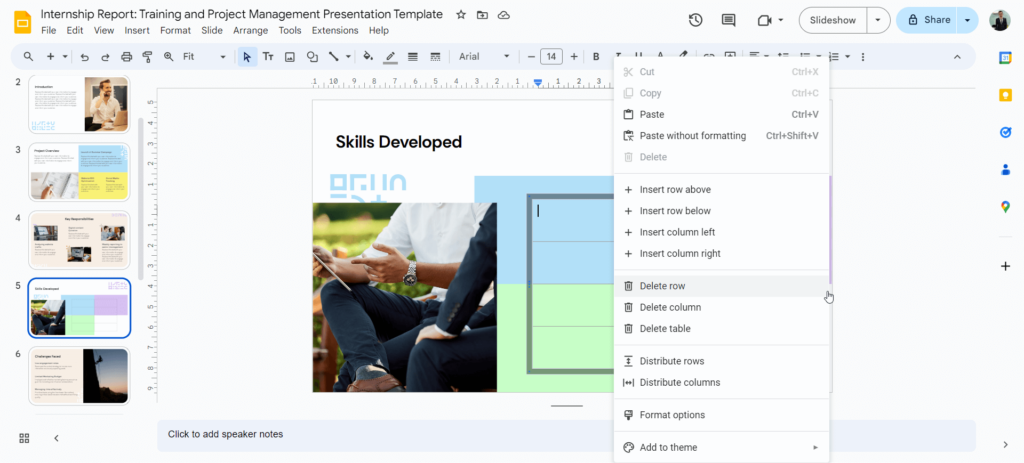
1. Deleting a Table
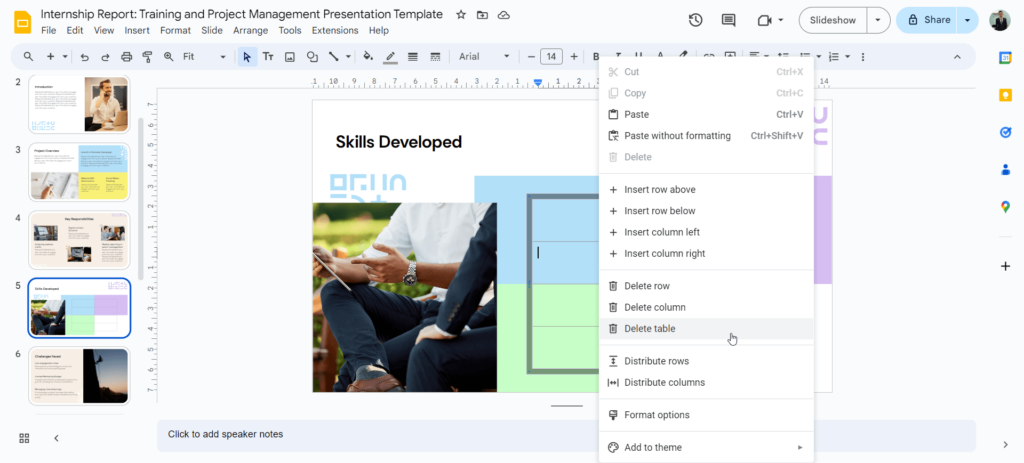
- Select the Table: Click on any cell within the table to select the entire structure.
- Delete: Right-click on the selected table and choose the “Delete table” option from the context menu. The entire table will be removed from your slide.
2. Deleting a Row
- Hover over the Row Divider: Position your mouse pointer between the row you want to delete and the row below it.
- Highlight the Row: Click and drag your mouse vertically to highlight the entire row.
- Delete: Press the Delete key on your keyboard. The highlighted row will be removed.
3. Deleting a Column

- Hover over the Column Divider: Place your mouse pointer between the column you want to delete and the column to its right.
- Highlight the Column: Click and drag your mouse horizontally to select the entire column.
- Delete: Press the Delete key on your keyboard. The highlighted column will be removed.
How to Insert Rows and Columns in the Table in Google Slides?
1. Inserting a New Row
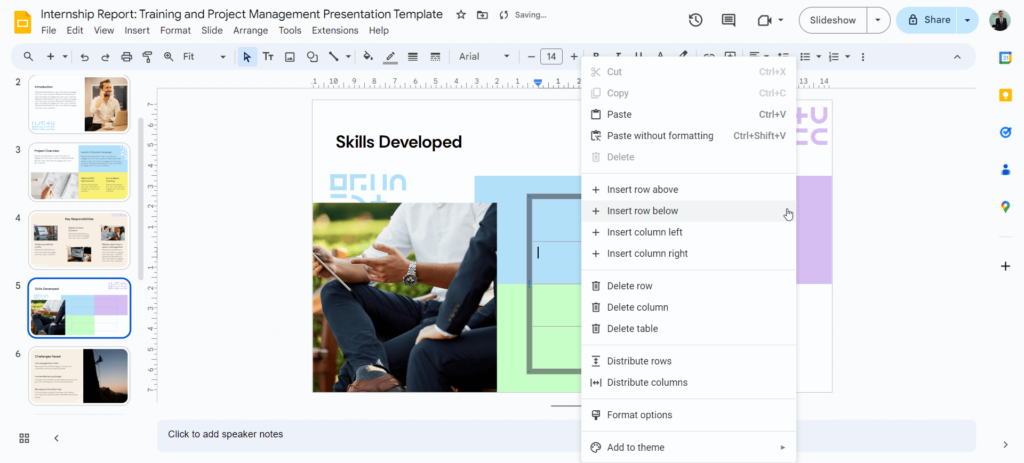
- Locate the desired position: Identify the row below where you want to add a new row.
- Click on a cell: Select a cell within the target row.
- Right-click: Click the right mouse button on the selected cell.
- Choose “Insert row above”: From the context menu that appears, select the option labeled “Insert row above.” This will add a new row directly above the row you clicked on.
2. Inserting a New Column
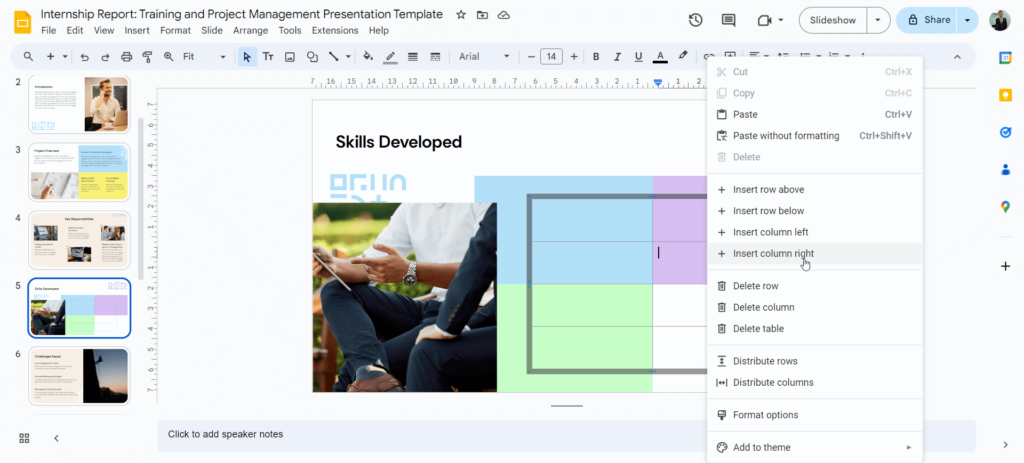
- Find the desired position: Determine the column to the left of where you want to insert a new column.
- Click on a cell: Select a cell within the target column.
- Right-click: Click the right mouse button on the selected cell.
- Choose “Insert column left”: From the context menu, select the option labeled “Insert column left.” This will add a new column to the left of the column you clicked on.
Download our Table Presentation Template!
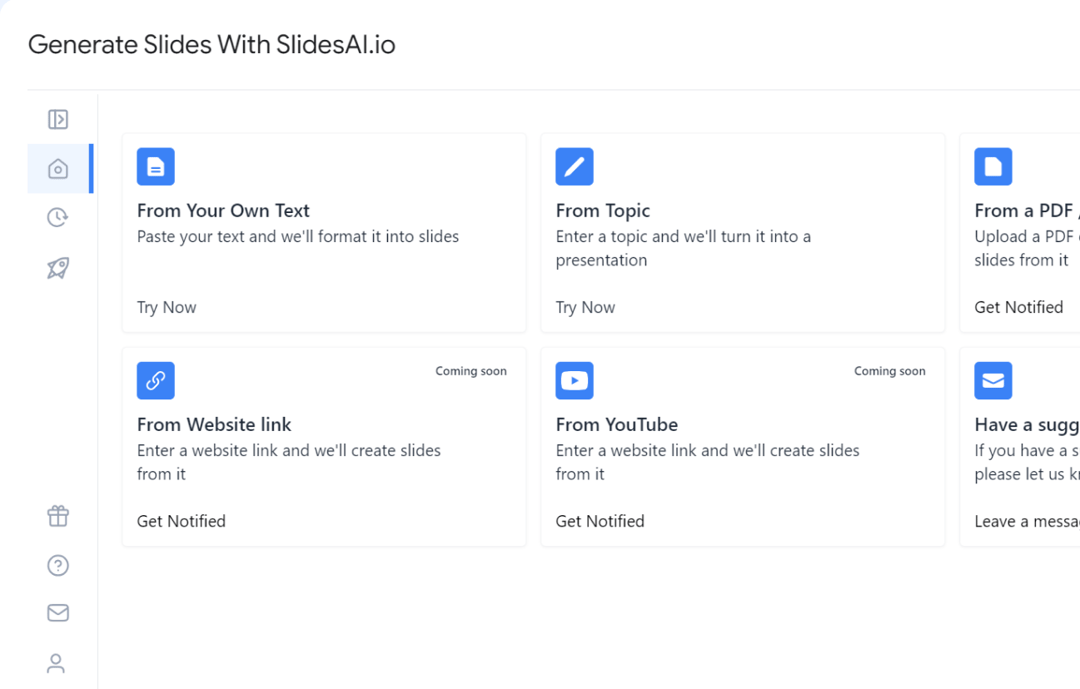
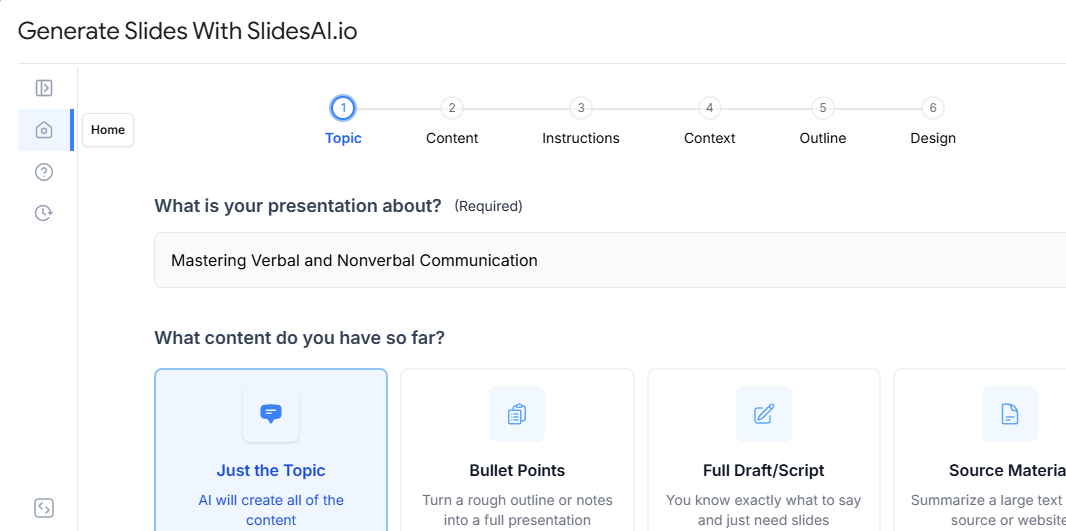
Build Stunning Slides in Seconds with AI
- No design skills required
- 3 presentations/month free
- Don't need to learn a new software
Closing Thoughts
Incorporating tables into your Google Slides presentations can greatly enhance your ability to present data clearly and effectively. By following these steps, you can easily create, customize, and format tables to fit your needs. Remember, well-organized tables can make your presentations more engaging and informative, helping you convey your message with clarity.
Looking to elevate your Google Slides skills further?
Explore how to make a summary slide, design a corn maze game, or create a Venn diagram. These interactive elements can add flair to your presentations.
Frequently Asked Questions (FAQs)
Can I edit a table after inserting it?
Yes, simply click on the table to customize its size, cells, and content.
Is there a limit to table size?
While Google Slides supports many rows and columns, extremely large tables might impact performance.
Can I import data into a table?
Yes, you can copy and paste data from external sources, like spreadsheets, directly into your table.
Can I merge or split cells?
Yes, you can merge or split cells by selecting them and using the table options.
Can I link data from a Google Sheets spreadsheet?
Yes, you can link a Google Sheets chart to a table to keep data synchronized.