
Let’s say you’ve created a fantastic presentation in Google Slides, but your audience might need to find a specific part quickly. Maybe it’s a detailed look at the financials on slide 15, or a product demonstration waiting for them on slide 8. The good news is, that Google Slides has a handy feature that lets you create links within your presentation.
This way, you can guide viewers directly to the information they need. Let’s explore how this works.
How to Link to a Specific Slide in Google Slides?
1. Finding Your Starting Point:
The first step involves opening your Google Slides presentation and selecting the slide where you want to insert the link. This could be your introductory slide, a table of contents, or even within the main body of your presentation. Think about where the link would be most helpful for viewers to access the targeted information.
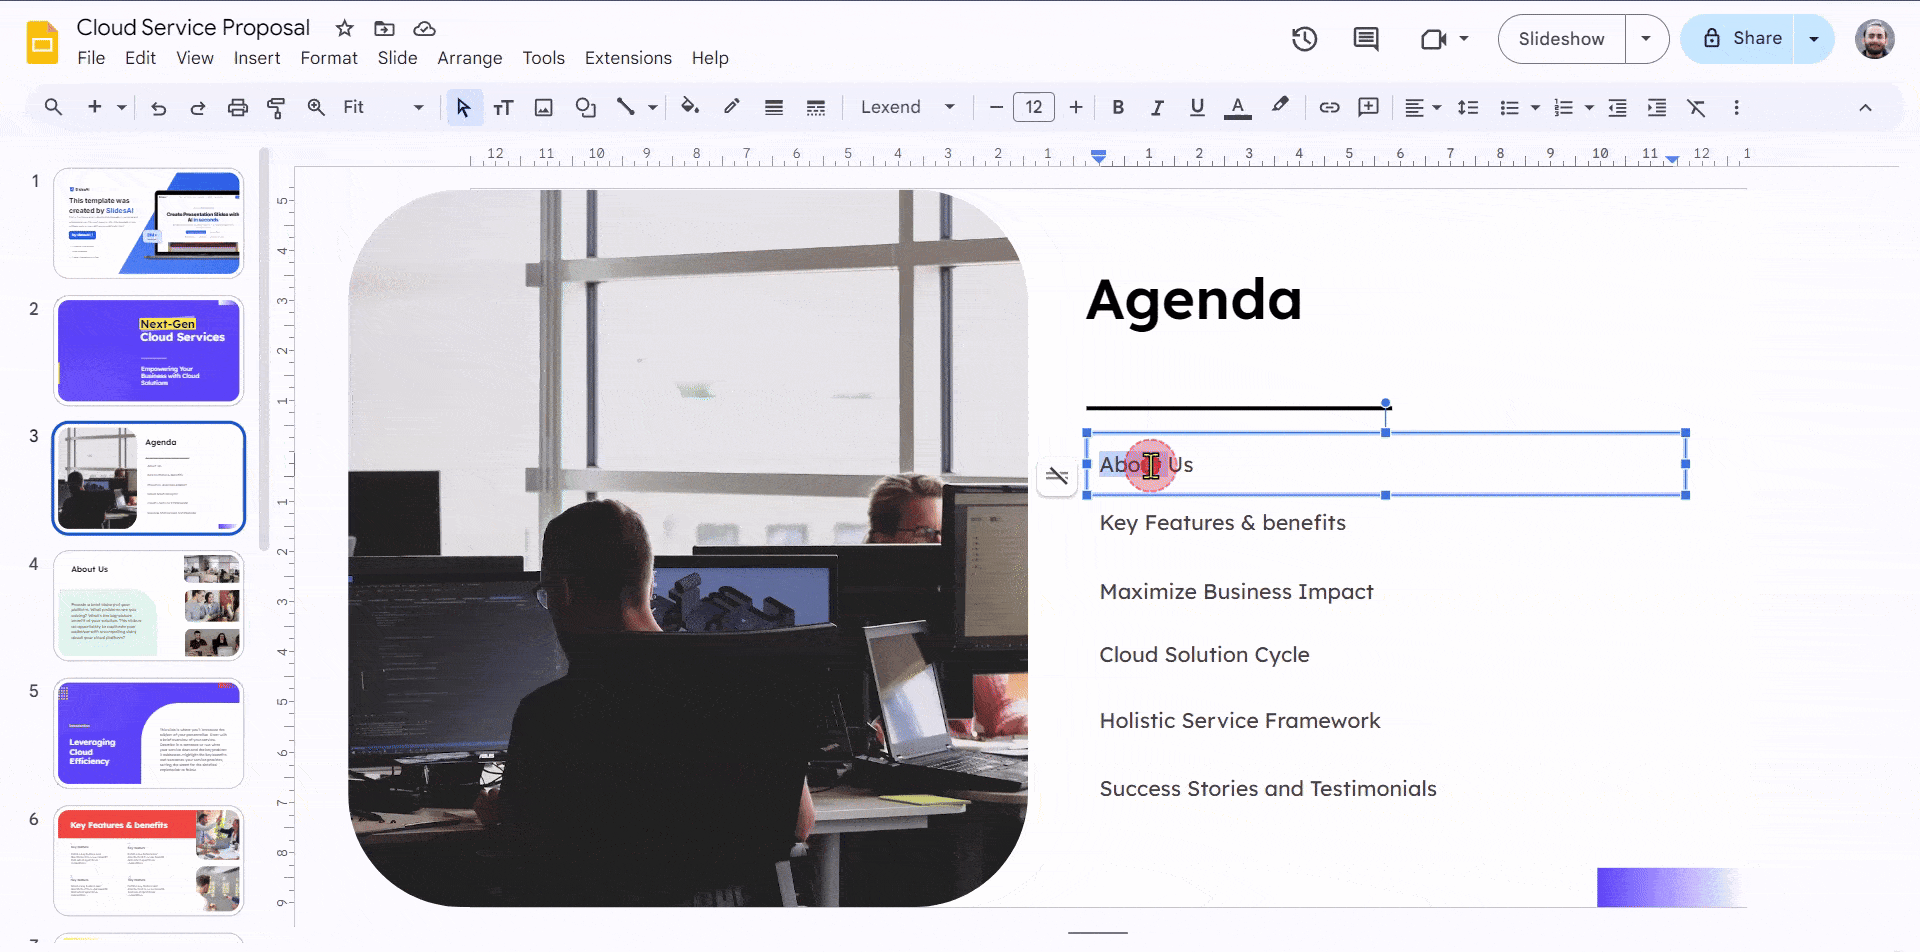
2. Highlighting the Anchor:
Next, click and drag your mouse to select the text or image you want to function as the link. This will be the clickable element that takes your viewers to the chosen slide. It can be a phrase, a call to action, or even an image – the choice is yours!
3. Accessing the Linking Options:
There are three convenient ways to access the linking options in Google Slides:
- Right-click: Simply right-click on the selected text or image. A pop-up menu will appear, and you can choose “Link” from the options.
- Keyboard Shortcut: For a faster approach, use the keyboard shortcut Ctrl+K (for PCs) or Command+K (for Macs).
- Menu Bar: Alternatively, you can navigate to the “Insert” menu at the top of your screen and select “Link” from the dropdown menu.
4. Choosing Your Destination:
A dialog box titled “Link” will appear. Here’s where the magic happens:
- Look for the dropdown menu labeled “Slides in this presentation.” Select this option.
- A list of all the slides in your current presentation will be displayed. Simply click on the slide you want to link to.
Alternatively:
The “Link” window might offer a search bar. You can type in the name or number of the slide you want to link to and then click on it from the search results.
5. Finalizing the Link:
Once you’ve chosen your destination slide, click the “Apply” button in the “Link” dialog box. Congratulations! Your chosen text or image is now a hyperlink that will transport viewers to the designated slide with just a single click.
Create Presentations Easily in Google Slides and PowerPoint
14M+Installs

Also Read: How to Create a Quiz in Google Slides?
Bonus Tip: Linking Beyond the Presentation
While the method above focuses on linking within a single presentation, Google Slides also allows you to create links to slides in other presentations stored on your Drive, or even external web pages. The process remains very similar.
In the “Link” dialog box, instead of choosing “Slides in this presentation,” you can paste the URL of the target presentation or web page into the search bar. If the target presentation is stored in your Drive and uses the same Google account, you can also search for its name directly.
Build Stunning Slides in Seconds with AI
- No design skills required
- 3 presentations/month free
- Don't need to learn a new software

Also Read: How To Make Interactive Google Slides?
Frequently Asked Questions About Linking to Specific Slides in Google Slides
What are the Benefits of Linking to Specific Slides in Google Slides?
Linking to specific slides within your presentation offers several advantages. It improves navigation by letting viewers jump directly to relevant sections, enhancing their experience. Additionally, linking helps with accessibility in presentations with a non-linear flow. Viewers can easily access information they might need to revisit later. Finally, you can create a more interactive experience by linking elements like buttons or images to specific slides.
Can I link to slides outside of the current presentation?
Unfortunately, Google Slides doesn’t currently support linking directly to slides in other presentations.
What can I link to instead of other slides?
Even though you can’t link to external slides, you can link to various resources:
- Webpages: Link text or images to relevant websites for further details.
- Documents: Link to Google Docs or other online documents for deeper dives into specific topics.
- Files: Link to downloadable files like PDFs or images that complement your presentation content.
Are there any other ways to improve navigation in my presentation?
Absolutely! Here are some additional tips:
- Clear Slide Numbering: Use a consistent slide numbering system throughout your presentation.
- Table of Contents Slide: Include a slide at the beginning that lists all the main topics and their corresponding slide numbers.
- Breadcrumbs: Add breadcrumbs to your slides. Breadcrumbs act like a navigation bar, showing viewers their location within the presentation hierarchy.