Shapes are a versatile tool in Google Slides, allowing you to create visuals, diagrams, and callouts to enhance your presentations. But sometimes, a completely solid shape might overpower the background content or text.
Here’s where adjusting the opacity of your shape comes in. By making your shape partially transparent, you can achieve a more layered and visually appealing presentation.
In this quick guide, we’ll walk you through the simple steps on how to change the opacity of a shape in Google Slides, giving you more control over the overall look and impact of your slides.
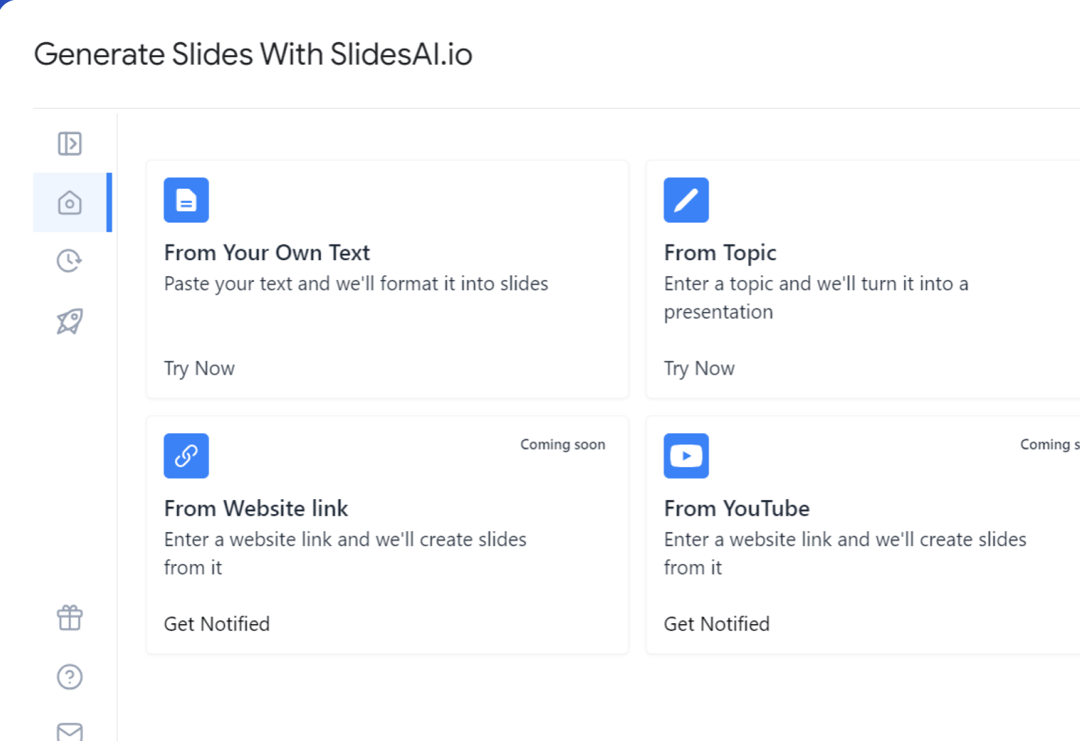
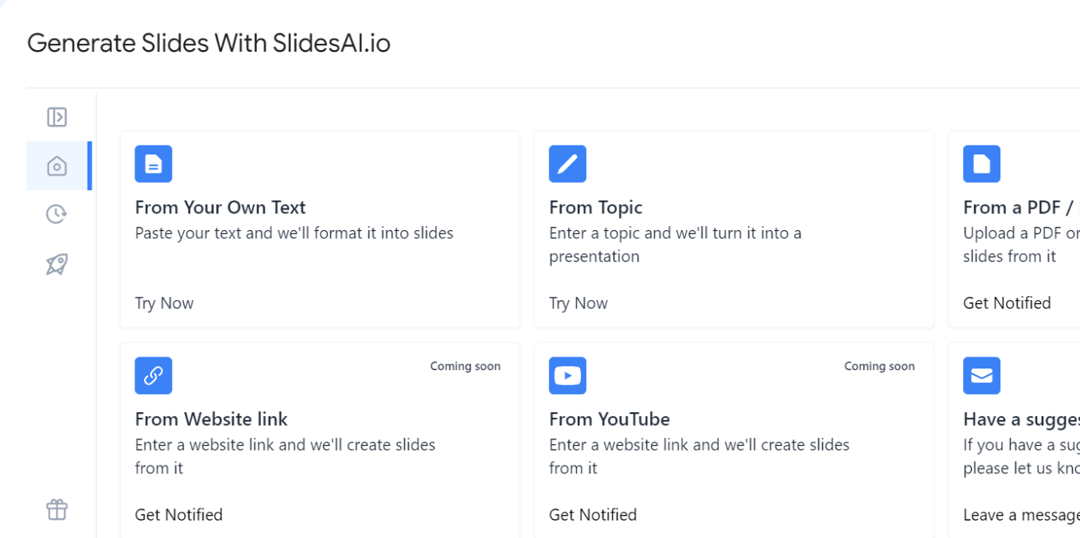
Create presentation slides with AI in Seconds in Google Slides
15M+Installs
Works with Google Slides
6 Simple Steps to Change Opacity of Shapes in Google Slides
Here’s how to adjust the transparency (opacity) of shapes in your Google Slides presentations:
- Open and Select: Launch Google Slides and open the presentation you want to edit. Click on the specific shape you want to make more or less see-through.
- Find the Format Menu: Look at the top menu bar once you’ve selected the shape. Click the “Format” tab.
- Locate Transparency: There might be a dedicated “Transparency” option within the “Format” menu. If not, hover your mouse over “Adjustments.” A submenu will appear; look for “Transparency” there.
- Slide for Opacity: Clicking “Transparency” will reveal a slider. Drag the slider to the left to make the shape more transparent (less opaque) or to the right to make it less transparent (more opaque). You’ll see the changes happen live on your slide.
- Fine-Tuning (Optional): The slider offers a good range of adjustment, but for a specific level of transparency, enter a number between 0 (completely transparent) and 100 (completely opaque) in the box next to the slider.
- Review and Repeat: Once you’re happy with the transparency, take a look at your slide to see how it works with the overall design. You can repeat this process for other shapes to create layered or emphasized effects.
Create presentation slides with AI in Seconds in Google Slides
- No design skills required
- 3 presentations/month free
- Don’t need to learn a new software
Works with Google Slides
Closing Thoughts
Adjusting the opacity of shapes in Google Slides is a quick and effective way to enhance the visual hierarchy and impact of your presentations. By making shapes partially transparent, you can create a layered effect, improve readability, and ensure your content stands out. So next time you’re building your slides, don’t be afraid to experiment with transparency – it can be a powerful tool for creating clear and engaging presentations.
Frequently Asked Questions
Can I make the background image in Google Slides a little less see-through?
Unfortunately, once you set an image as the slide background in Google Slides, you can’t adjust its transparency directly. Here are a couple of workarounds:
- Edit the image first: You can use a separate image editing program to adjust the transparency of the image before uploading it as your slide background.
- Add the image as an element: Upload the image as a regular element on the slide. Then, you can change its transparency level, resize it to fit the slide, and position it behind other elements to make it appear like the background.
You can learn more about image transparency in Google Slides by clicking here.
Can I adjust the transparency of different things on my slides?
Yes! You can control the transparency of each object on your slide independently.
How can I completely hide an object on my slide?
Simply slide the “Transparency” bar all the way to the left (0%). This will make the object completely invisible.
Are there other ways to change transparency besides the slider?
While the “Transparency” slider is the most common way, you can also adjust transparency for some objects using the “Fill color” option:
- Click on the object you want to adjust.
- Go to the “Format” menu.
- Select “Fill color.”
- Choose “Custom” at the bottom of the color options.
- A window with a transparency slider will appear. Slide it to adjust the transparency level.