
Ever found yourself scrolling endlessly through a long Google Slides presentation, trying to find a specific set of slides? When your presentation gets too big, organizing it into sections makes it much easier to manage.
Whether you are working on a lesson plan, a business report, or a group project, sections help keep everything neat and easy to navigate.
This guide will walk you through the simple steps to create sections in Google Slides so you can stay organized and find what you need without any hassle.
What Are Sections in a Presentation, and Why Do They Matter?
Sections help break a presentation into smaller, organized parts so that everything flows smoothly. They group related slides together, making it easier for both you and your audience to follow along.
Instead of jumping from one topic to another, the sections are structured, ensuring that each part connects well to the next.
Using sections also makes it easier to edit and arrange slides, especially when working on a long presentation. If you need to make changes or move things around, you can do it without losing track of the overall structure.
This is helpful whether you are preparing for a business meeting, a classroom lecture, or a conference. A well-organized presentation keeps your audience engaged and helps them understand your message without feeling overwhelmed.
How to Organize Sections in Google Slides?
Google Slides does not have a direct option to create sections like Microsoft PowerPoint. However, you can still organize your slides in a way that makes navigation easier. A simple way to do this is by grouping slides visually and using a table of contents for quick access.
Step 1: Add a Title Slide for Each Section
To separate different parts of your presentation, create a new slide for each section.
- Open your Google Slides presentation.
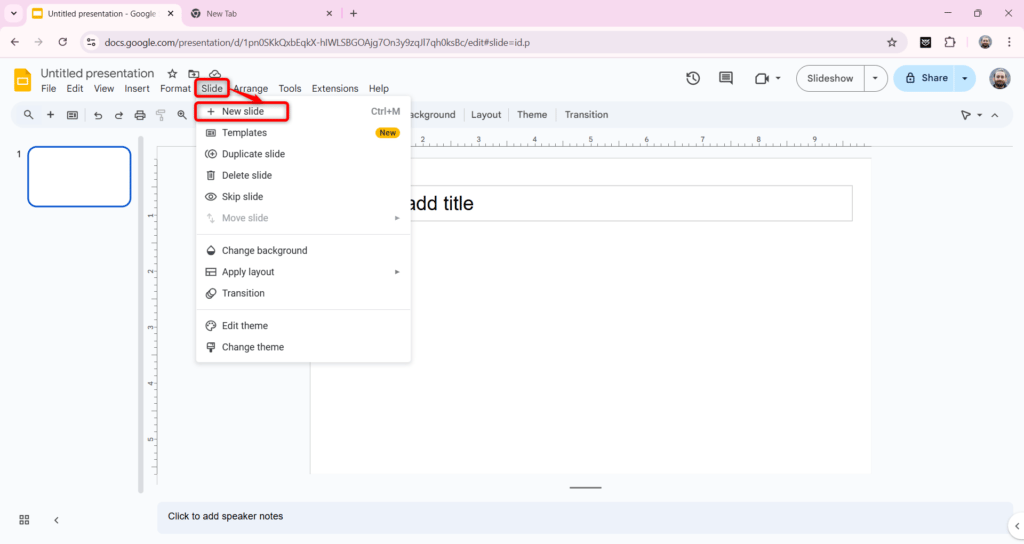
- Click Slide → New Slide to add a slide.
- Choose a title layout and type the name of the section in the title box.
This will act as a divider, making it clear when a new section starts.
Step 2: Use Colors to Group Slides
Adding colors can help you quickly identify different sections.

- Click on the section’s title slide.
- Go to Background and choose a color that represents the section.
- Use similar colors for other slides in the same section.
For example, if one section is about forests, you can use green shades to group all related slides together.
Tip: Use the Grid View to see all slides at once. Click View → Grid View, then drag and arrange slides to keep sections together.
Step 3: Create a Table of Contents for Easy Navigation
A table of contents helps you quickly move to different sections.
- Go to the first slide of your presentation.
- Type a list of section names (e.g., “Introduction,” “Green Forests,” “Wildlife,” etc.).
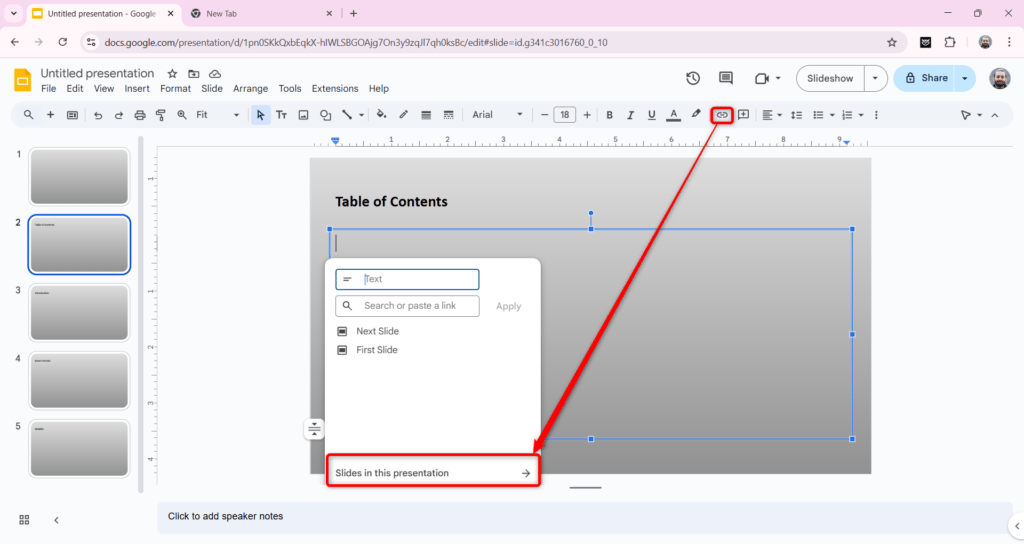
- Highlight a section name and click Insert → Link.
- Select Slide in this presentation and choose the slide where that section starts.
- Repeat for all section names.
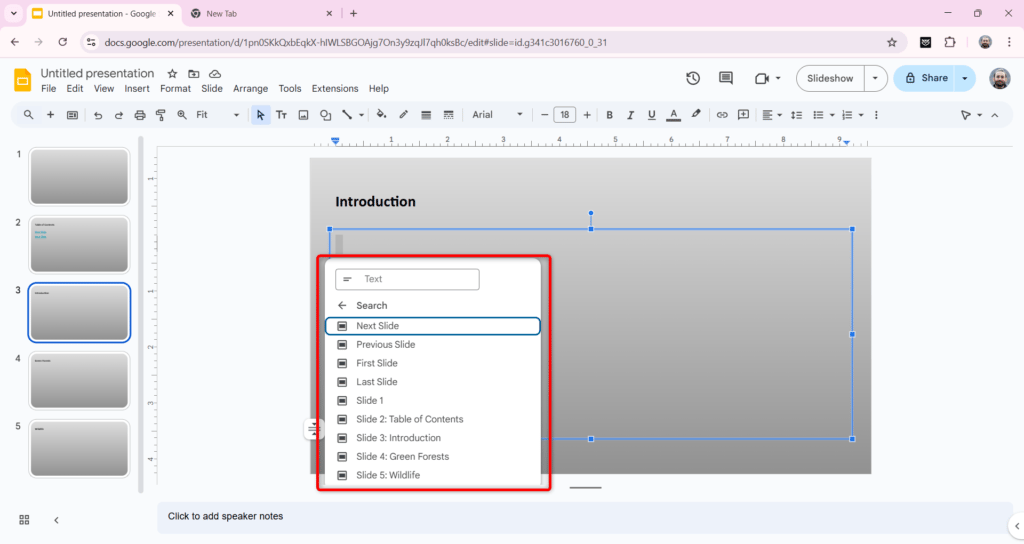
Now, clicking on a section name will take you straight to that part of the presentation, making it easier to navigate.
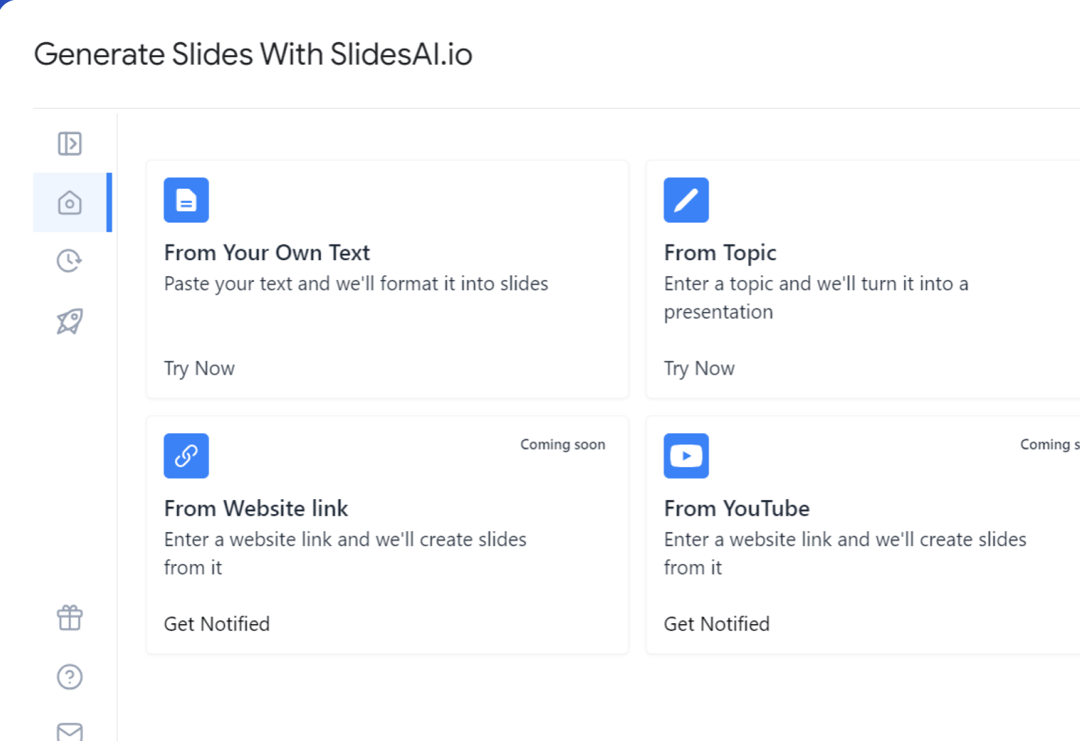
Pro Tip: Use SlidesAI – An AI Presentation Maker to generate presentations in seconds.
Create presentation slides with AI in Seconds in Google Slides
15M+Installs
Works with Google Slides
Closing Thoughts
Breaking your presentation into sections helps keep things clear and easy to navigate. Even without a built-in feature, using title slides, colors, and a table of contents does the job well. A little effort in organizing makes a big difference in how smoothly everything flows.