Need to reuse an image from your Google Slides presentation, but can’t find it on your computer? Don’t worry, there are a few ways to save the image directly from your Slides document.
This guide will explain five simple methods for extracting images from your Google Slides presentation. This way, you can easily grab the image you need for another project.
How to Save an Image from Google Slides?
Method 1: Copying the Image on a New Slide
This method allows you to download a specific image from your presentation and save it as a standalone image file.
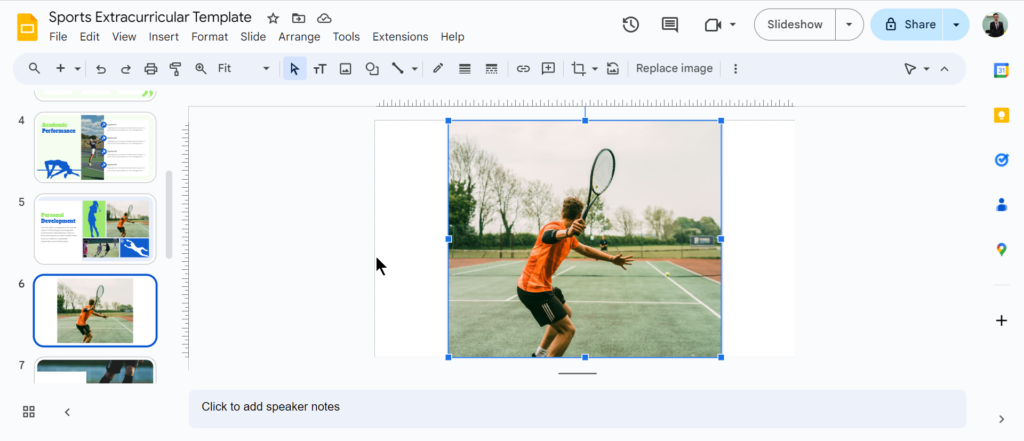
1. Open the Source Slide: Navigate to the slide containing the image you want to download.
2. Select the Image: Click on the image to highlight it.
3. Copy the Image: Right-click on the image and choose “Copy” from the menu.
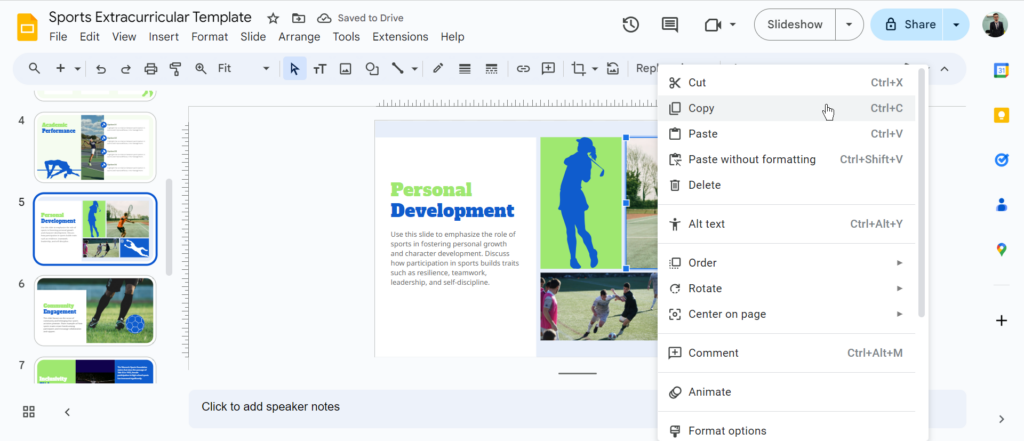
4. Create a New Slide for the Image: Click “Insert” in the menu bar and select “New Slide.”
5. Paste and Adjust the Image: Click anywhere on the new slide and right-click to choose “Paste.” Resize and center the image using the drag handles. If the image quality allows, you can stretch it to fill the slide. Otherwise, keep it at its original size.
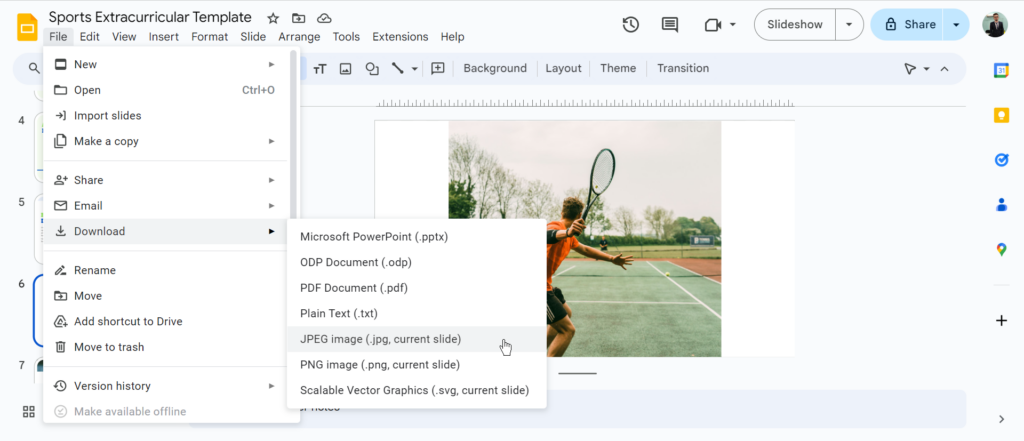
6. Download as Image: Click “File” in the menu bar, then hover over “Download” and choose your preferred image format (e.g., JPEG, PNG).
7. Optional Cropping: After downloading, you can crop the image further using image editing software (not included in this method).
Method 2: Save Images from Google Slides Using Google Keep
1. Locate the Image: Open the Google Slides presentation containing the image you want to save.
2. Select the Image: Click on the image you want to download to your computer.
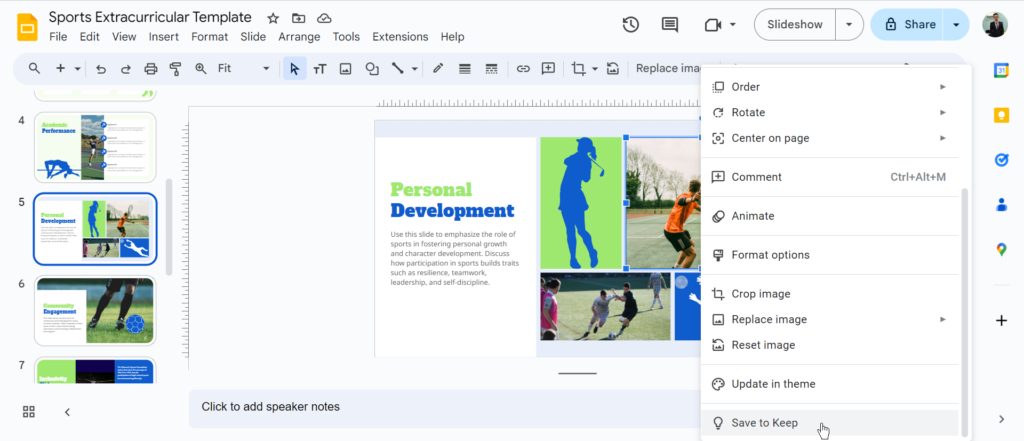
3. Save to Keep: Right-click on the selected image. From the menu, choose “Save to Keep.” Google Keep will create a new note with the image automatically added.
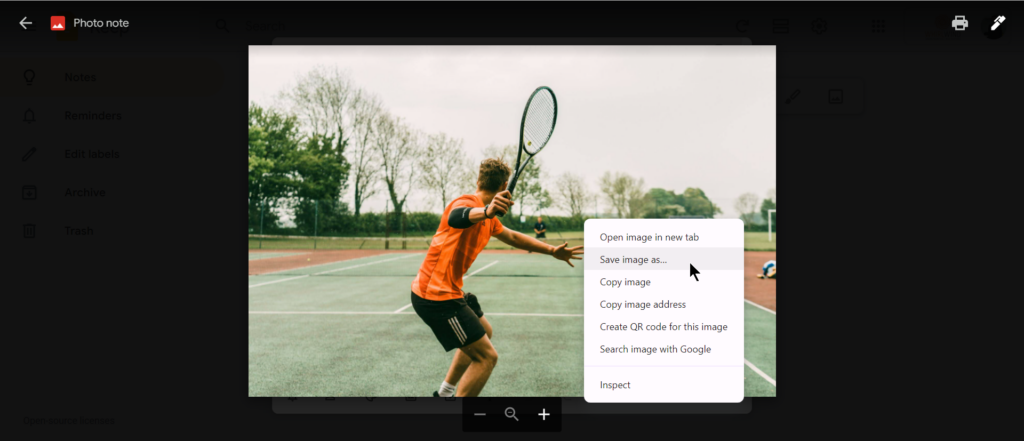
4. Save Image to Computer: Within the Keep note, right-click on the saved image. Select “Save image as…” and choose the desired location on your computer to save the downloaded image.
Create Presentations Easily in Google Slides and PowerPoint
15M+Installs
Method 3: Downloading Images from Google Slides with Google Docs
1. Open the Source Presentation: Locate and open the Google Slides presentation containing the image you want to download.
2. Select the Image: Navigate to the slide with the desired image and click on it to select it.
3. Copy the Image: Right-click the selected image and choose “Copy” from the menu.
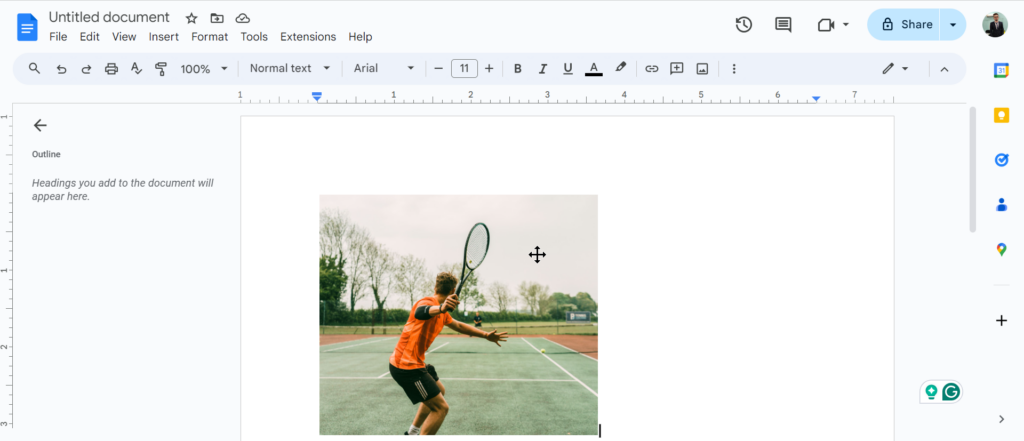
4. Paste Into a New Document: Open a new Google Doc or an existing one where you want the image saved. Right-click anywhere in the document and select “Paste.”
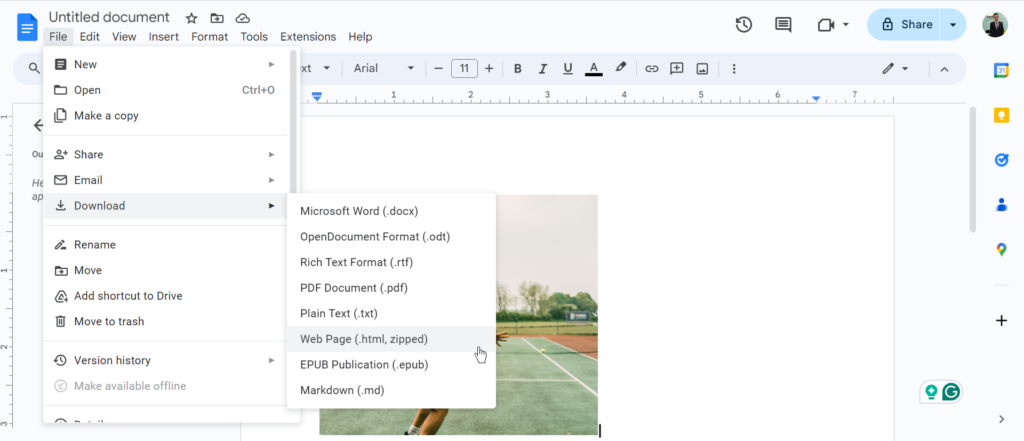
5. Download as Webpage (HTML, Zipped): Go to “File” in the top menu and select “Download.” Choose “Web page (HTML, zipped)” as the download format. This creates a ZIP file containing the document and all images as separate files.
6. Extract the Image Files: Locate the downloaded ZIP file on your computer and extract it using your preferred method. Your desired image will be among the extracted files.
Method 4: Downloading Images with Google Chat
1. Open Your Presentation: Locate and open the Google Slides presentation containing the image you want to save.
2. Select the Image: Navigate to the slide with the image and click on it to select it.
3. Copy the Image: Right-click on the selected image and choose “Copy” from the menu.
4. Open Google Chat: Launch the Google Chat application. You can open an existing chat or create a new chat window for this purpose.
5. Paste and Save the Image: Click inside the chat window and paste the image (usually with Ctrl+V or Cmd+V). Once the image appears, right-click on it and select “Save Image As…” from the menu. Choose a location on your computer to save the downloaded image.
Build Stunning Slides in Seconds with AI
- No design skills required
- 3 presentations/month free
- Don't need to learn a new software
Method 5: Saving an Image with a Screenshot
On Windows:
1. Open the Slide: Locate and open the Google Slide containing the image you want to capture.
2. Capture the Screen (Snipping Tool): Press the “PrtScr” key on your keyboard. This will launch the Snipping Tool.
3. Select the Image Area: Use the Snipping Tool to select the specific area of the image you want to save.
4. Save the Screenshot: Once you’ve selected the area, open the captured image (it might open automatically). Right-click on the image and choose “Save Image As…”. Select a desired location on your computer to save the image.
On Mac:
1. Open the Slide: Locate the slide containing the image you want to capture in Google Slides.
2. Capture the Screen: Press “Shift-Command-5” on your keyboard. This will open the screenshot tools menu.
3. Capture the Image: Choose the “Capture Selected Portion” option (it might look like a crosshair icon). Drag your mouse to select the specific area of the image you want to save.
4. Locate the Screenshot: Once you are done, the screenshot will be saved by default to your Desktop. You can find it with the filename format “Screen shot [date and time]” followed by “.png”.
Create Presentations Easily in Google Slides and PowerPoint
- No design skills required
- 3 presentations/month free
- Don't need to learn a new software
Closing Thoughts
With these five methods at your disposal, you can easily extract any image from your Google Slides presentations whenever you need them for other projects. Whether you prefer a quick screenshot or a high-quality download, there’s a method here that suits your needs. Remember, choosing the right method depends on the desired image quality and your comfort level with different tools.
For those frequently creating dynamic and visually appealing content, exploring other robust presentation maker tools can significantly enhance your creative workflow and design capabilities.
Frequently Asked Questions Related to Saving Images from Google Slides
How can I save an image on the Google Slides mobile app?
There’s no built-in “save image” function, but you can use Google Keep as a handy trick. Here’s how:
- Copy the image you want from your Google Slides presentation.
- Open the Google Keep app and create a new note or open an existing one.
- Paste the copied image into your Keep note.
- Right-click (or tap and hold) the image in Keep and choose “Save image” or “Download image” to save it to your device.
Does saving the image through Keep affect its quality?
It’s a possibility. Google Keep might compress the image slightly to save storage space.
Can I save the entire slide instead of just the image?
Absolutely! Google Slides lets you download the whole slide as an image file. This might not be ideal if you only need a specific image, though.
Can I use an image editing app to save the image?
You got it! Copy the image from the slide and paste it into an image editing app like Paint or GIMP. Then, simply use “Save As” to save it on your device.
Is there a way to save each slide as a separate image file?
Yes! Go to “File” > “Download” > “Publish to the web”. Choose the image format you want (JPEG works well) and publish. This will create a folder containing all your slides as individual image files.
Are there add-ons for Google Slides that help save images?
While there might be some third-party add-ons, be cautious! Make sure you research any add-on thoroughly before installing it. You want to be sure it’s from a reputable source and won’t harm your Google Slides security.
Can I just right-click and save an image from Google Slides?
Not quite yet. Unfortunately, Google Slides doesn’t currently have a right-click “Save Image As” option for individual images within a slide.