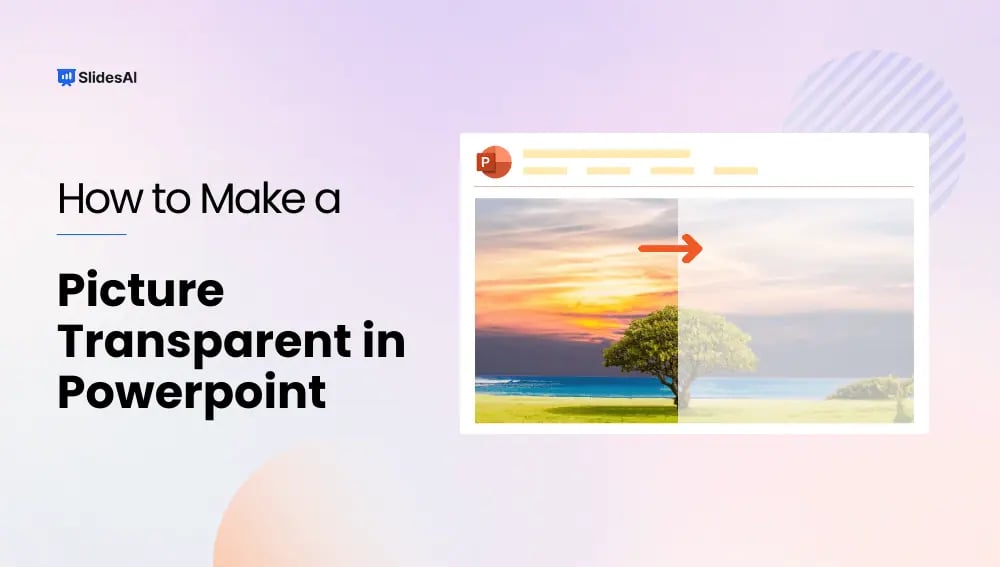
Visuals can really make presentations more interesting! Pictures, charts, and graphs can help break up text, keep viewers engaged, and make a memorable impression. But have you ever used an image where the background takes away from your message?
For example, maybe you found a great photo of a mountain range for your travel presentation, but there’s a big billboard in the background that distracts from the scenery. This is where transparency can be a helpful tool! PowerPoint has features that let you adjust how see-through your pictures are. In the next section, we’ll take a closer look at these features and show you how to use them to make your images work better in your presentations, so you can leave a strong impression on your audience.
Make an Image Transparent through the “Picture Format” Feature
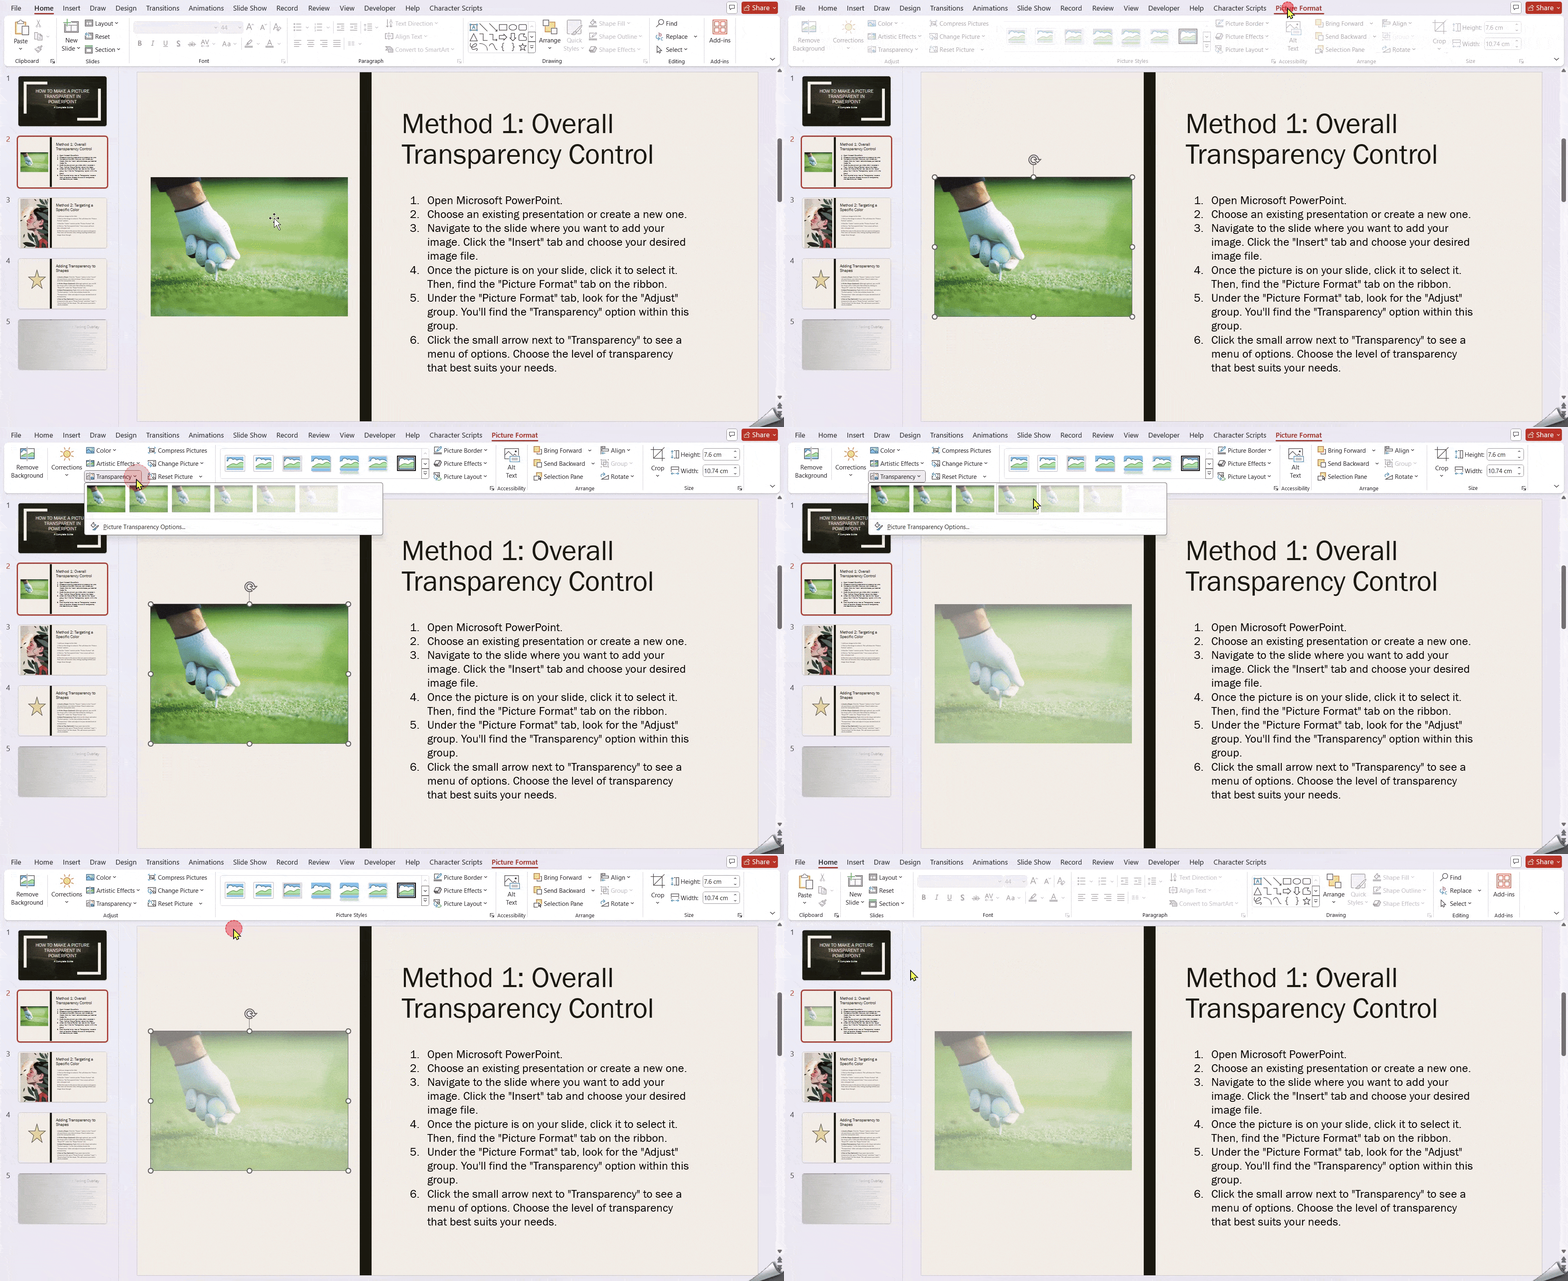
Method 1: Overall Transparency Control
- Open Microsoft PowerPoint.
- Choose an existing presentation or create a new one.
- Navigate to the slide where you want to add your image. Click the “Insert” tab and choose your desired image file.
- Once the picture is on your slide, click it to select it. Then, find the “Picture Format” tab on the ribbon.
- Under the “Picture Format” tab, look for the “Adjust” group. You’ll find the “Transparency” option within this group.
- Click the small arrow next to “Transparency” to see a menu of options. Choose the level of transparency that best suits your needs.

Method 2: Targeting a Specific Color
This method is especially helpful if your image has a solid background color you’d like to remove. Here’s how to do it:
- Add your image to the slide.
- Click on the image to select it. This will show the “Picture Format” options.
- Find the “Colors” section on the “Picture Format” tab.
- Click on “Set Transparent Color.” Your cursor will turn into a dropper tool.
- Click the color in the picture that you want to disappear. That color will become clear, letting anything behind your image show through.

Create presentation slides with AI in Seconds in Google Slides
15M+Installs
Works with Google Slides

Adding Transparency to Shapes
Here’s how to create a partially transparent area using shapes in Google Slides:
- Insert a Shape: Click the “Shapes” button in the “Insert” tab and choose your desired shape. Place it where you want the transparent area.
- Fill the Shape (Optional): Although optional, you can fill the shape with a solid color (like white) by clicking on “Shape Fill” under the “Shape Format” tab.
- Adjust Transparency: Right-click on the shape and select “Format options.” In the new window, locate the “Transparency” slider and adjust it to your desired level of transparency.
- Text on Top (Optional): If you want text on the transparent area, go to “Shape Format” and then “Layer” > “Send to Back” for the shape. This will ensure your text is clearly readable.

Creating a Fading Overlay
Here’s how to create a transparent gradient overlay on your slide:
- Insert a Rectangle: Go to “Insert” > “Shapes” and choose “Rectangle.” Expand it to cover the entire slide.
- Format the Rectangle: Right-click on the rectangle and select “Format options.” This opens a new window.
- Apply Gradient Fill: Choose “Gradient fill” from the options. You can either pick a pre-designed gradient or customize the type, direction, angle, and color.
- Set Transparency Levels: To achieve a transparent gradient effect, adjust the “Transparency” setting for each individual color stop within the gradient. Click on a color stop to highlight it before adjusting its transparency.

Bonus Tip: Using PNGs for Natural Transparency
Images saved in PNG format can hold onto their natural transparency. This works well for logos or computer-generated graphics that already have transparent elements. When you insert a PNG with transparency into Google Slides, it will automatically show through without further adjustments.
Closing Thoughts
By mastering transparency in PowerPoint, you can unlock a powerful design tool. From fine-tuning the visibility of entire images to crafting subtle fading overlays, transparency allows you to tailor your visuals for maximum impact. So, don’t be afraid to experiment and see how transparency can elevate your presentations and leave a lasting impression on your audience.
Create presentation slides with AI in Seconds in Google Slides
- No design skills required
- 3 presentations/month free
- Don’t need to learn a new software
Works with Google Slides

Frequently Asked Questions (FAQs)
Does making a picture transparent work with all image file formats?
Absolutely! PowerPoint supports changing the transparency of various image formats, including JPG, PNG, GIF, and more.
Can I animate the transparency of a picture in PowerPoint?
Yes! You can use the “Animations” tab to add effects like “Fade” or “Appear” to your picture. By adjusting the animation settings, you can control how the transparency changes over time.
Can I combine transparency with other image effects in PowerPoint?
Yes! PowerPoint allows layering various effects like shadows, glows, and soft edges alongside transparency. This lets you create visually striking images.
My transparent image looks pixelated. How can I avoid this?
To avoid a pixelated look, make sure you’re using a high-resolution image file. Applying transparency can sometimes magnify imperfections in low-quality pictures.


