
Giving a good presentation can really help you stand out in business meetings. After all, who doesn’t want to make a great first impression on clients or bosses? Using PowerPoint presentations is a common way to communicate in business, whether you’re meeting face-to-face or online.
But sometimes, when we send presentations online, people might not have the right software to open them. That’s why it’s a good idea to turn your PPT into a PDF. This way, everyone can see your presentation, even if they don’t have PowerPoint on their device.
What are the Benefits of Saving PowerPoint Presentation as a PDF?
There are several benefits to converting your PowerPoint file to PDF:
- Content and Formatting Security: Saving as a PDF locks your content and formatting in place, preventing unauthorized changes while still allowing others to view the presentation.
- Universal Compatibility: PDF format ensures that anyone can view your presentation, even if they don’t have Microsoft PowerPoint installed on their device.
- Cross-Platform Functionality: Whether you’re using a Mac or Windows computer, saving as a PDF ensures compatibility across different operating systems.
- Easy Sharing: PDFs typically have smaller file sizes, making them convenient for emailing and sharing presentations with others.
- Accessibility and Convenience: PDFs can be opened on any computer or mobile device, ensuring accessibility for recipients without PowerPoint software.
How to Save PowerPoint as PDF files?
There are 3 methods to Save PowerPoint as PDF files
- Using the Save As Feature (For presentations without speaker notes)
- Using the Export Feature (With more control over output)
- Using Print to PDF (For Presentations with speaker notes)
Method 1: Using the Save As Feature (For presentations without speaker notes)
- Open your PowerPoint presentation.
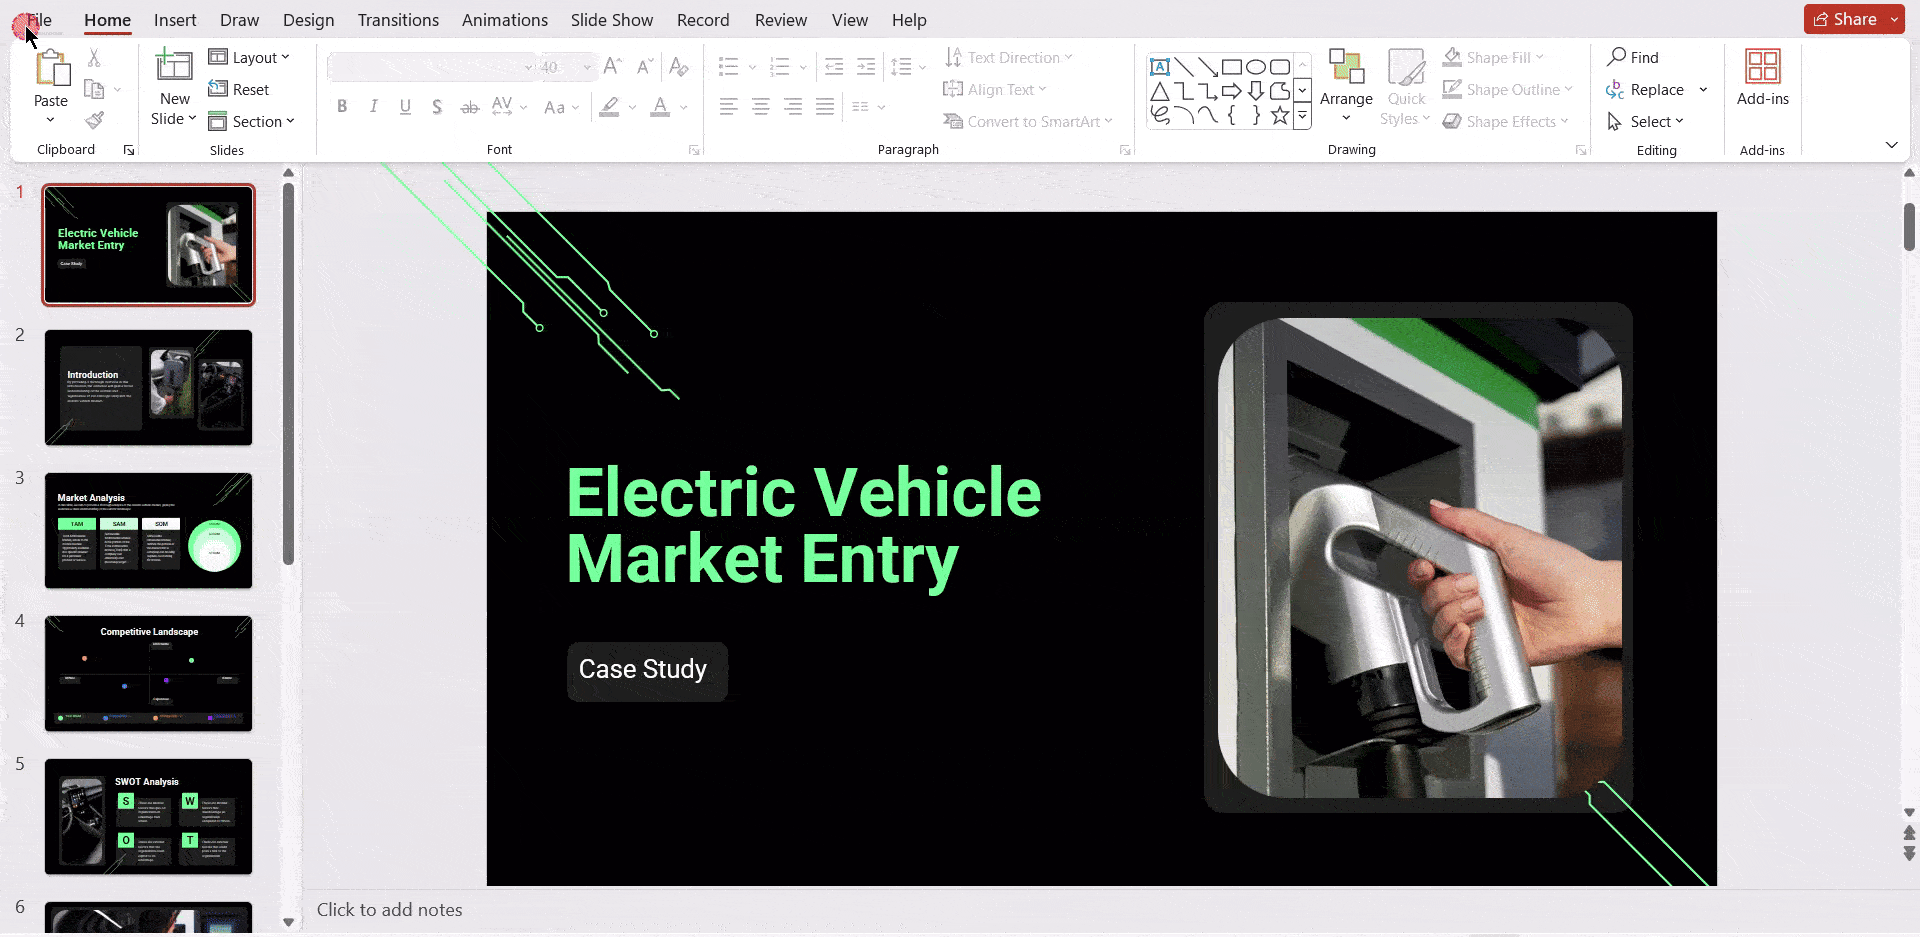
- Click the File tab in the top left corner.
- Select Save As.
- In the Save As dialogue box, navigate to the location where you want to save your PDF.
- Click the dropdown menu next to Save as type.
- Choose PDF from the list of file formats.
- (Optional) You can rename your file by typing a new name in the File name box.
- Click Save.

Method 2: Using the Export Feature (With more control over output)
1. Open your PowerPoint presentation.
2. Click the File tab.
3. Select Export.
4. In the Export menu, click either:
- Create PDF/XPS Document (This offers more options for customization)
- Change File Type > PDF (This is a quicker option with fewer customization choices)
5. For “Create PDF/XPS Document”:
A Publish as PDF or XPS dialogue box will appear. Choose a location to save your file and a filename (similar to steps 4-7 in Method 1).
You can customize the output using the following options:
- Optimize for: Choose between “Standard” (better quality) or “Minimum size” (smaller file size).
- Publish what: Select which slides you want to include (all, current slide, or a custom range).
- Publish handouts: Choose how many slides you want per page.
- Click Publish when finished customizing.
6. For “Change File Type” > “PDF”:
- A simplified dialogue box will appear. Choose a location and filename (similar to steps 4-7 in Method 1).
- This method offers limited customization options.
- Click Save to proceed.

Method 3: Using Print to PDF (For Presentations with speaker notes)
- Open your PowerPoint presentation.
- Click the File tab.
- Select Print.
- In the Printer settings, select Microsoft Print to PDF.
Note: If you don’t see “Microsoft Print to PDF” as an option, you may need to install it. You can usually find it through your Windows settings or by searching online for the latest version. - In the Print Layout section, select “Notes pages”
- Click Print.
- In the Save As dialogue box, choose a location and filename for your PDF.
- Click Save.
Create presentation slides with AI in Seconds in Google Slides
10M+Installs
Works with Google Slides
How To Save PowerPoint As PDF on MacOS?
There are two main methods to save your PowerPoint presentation as a PDF on macOS using Microsoft PowerPoint:
Method 1: Save As
- Open your PowerPoint presentation.
- Click on the “File” menu in the top menu bar.
- Select “Save As…” from the dropdown menu.
- In the “Save As” window, choose a location to save your PDF.
- Important Step: In the “File format” dropdown menu, select “PDF” (*.pdf).
- Optionally, you can give your PDF a different name in the “File name” box.
- Click “Save” and your presentation will be converted to a PDF file.
Method 2: Export
- Open your PowerPoint presentation.
- Click on the “File” menu in the top menu bar.
- Select “Export…” from the dropdown menu.
- In the “Export” window, click on the “File Format” menu.
- Choose “PDF” from the list of file formats.
- Click “Save” and your presentation will be exported as a PDF file.
Create presentation slides with AI in Seconds in Google Slides
- No design skills required
- 3 presentations/month free
- Don’t need to learn a new software
Works with Google Slides
Closing Thoughts
We hope this guide has equipped you with the knowledge to effortlessly convert your PowerPoint presentations into PDFs. By following these simple steps, you can ensure your presentations are accessible and flawlessly formatted for anyone to view, regardless of their device or software. Now go forth and share your presentations with confidence!
Frequently Asked Questions
Are there any limitations to using PDFs?
While PDFs offer many benefits, they may not be suitable for collaborative editing like PowerPoint files.
Can I add hyperlinks to a PDF?
Yes, you can add hyperlinks to a PDF using PDF editing software.
Will converting to PDF affect the quality of my images and graphics?
No, converting to PDF should not affect the quality of your images or graphics.
Can I edit a PDF after saving my PowerPoint as PDF?
Yes, you can edit a PDF using specialized software like Adobe Acrobat or online PDF editors.
Can I control how the notes appear in the PDF?
Yes, using the “Export as PDF” method allows more control. With “Handouts,” you can choose how many slides appear per page with notes next to them. With “Notes,” each slide and its corresponding notes will be on separate pages.
