
Sometimes, pictures can take up too much space on a slide, making it hard to fit in text or other important elements. Cropping them can tidy things up, giving your slide a more balanced look. In the default and SlidesAI-provided Google Slides presentation templates, you can easily crop and mask images with shapes to improve your design and make sure everything fits just right.
2 Easy Methods to Crop an Image in Google Slides
Method 1: Crop the Image by Double-Click and Drag
1. Select the Image: Click on the image you want to crop in your slide.
2. Double-Click or Crop Button: There are two ways to initiate cropping:
- Double-Click: Simply double-click on the image itself.
- Crop Button: Click the “Crop” button located on the toolbar at the top of the slide editor window.
3. Cropping Handles Appear: Black handles will appear around the perimeter of your image. These handles allow you to define the new cropped area.
4. Drag the Handles: Click and drag any of the black handles inwards to crop the image. As you drag, a rectangular selection area will adjust, previewing the cropped portion.
5. Maintain Aspect Ratio (Optional): While dragging the handles, hold down the Shift key on your keyboard. This will constrain the proportions of the image, ensuring it doesn’t become distorted during cropping.
6. Finalize the Crop: Once you’re satisfied with the selection area, you have two options:
- Press Enter: Hitting the Enter key on your keyboard will confirm the crop and apply the changes to the image.
- Click Outside Image: Simply click anywhere outside the image on the slide to finalize the crop.
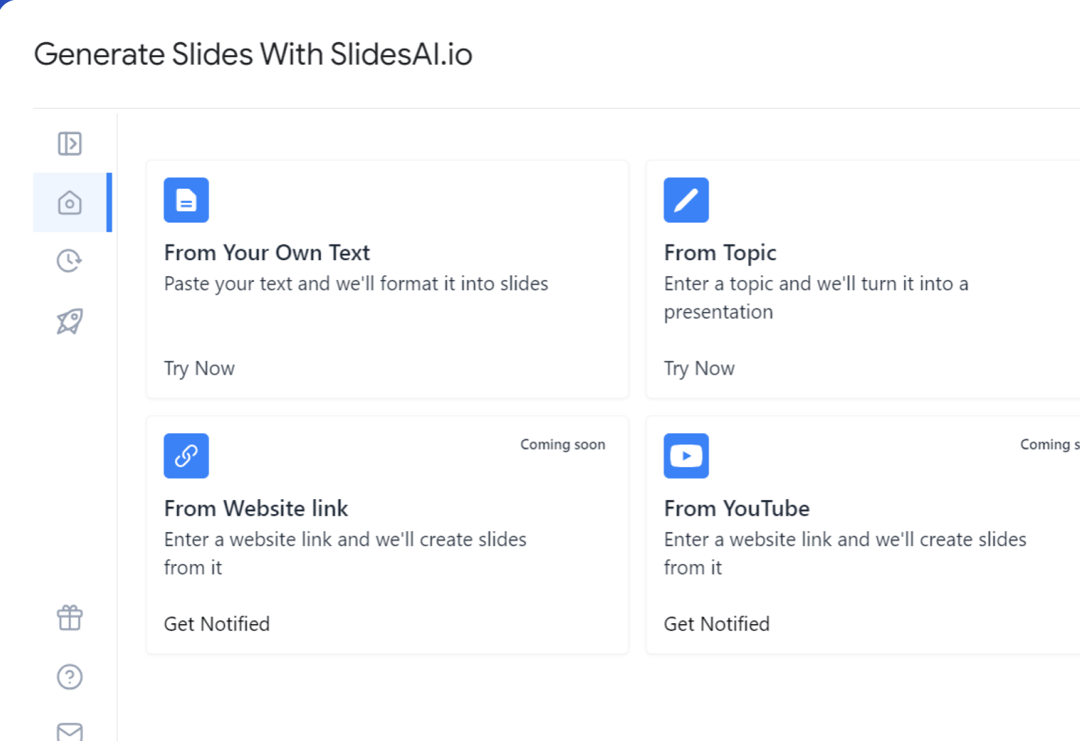
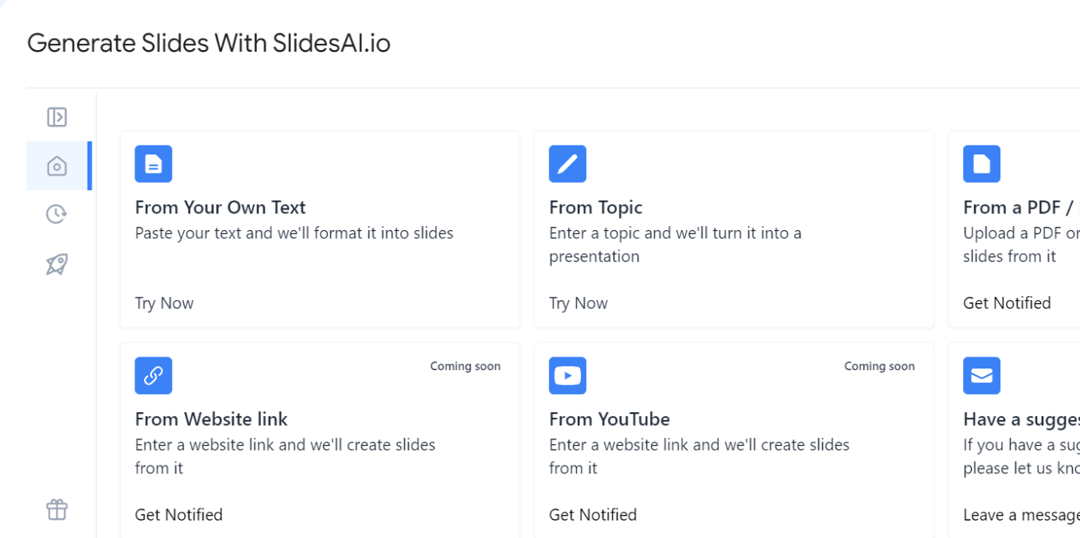
Create presentation slides with AI in Seconds in Google Slides
10M+Installs
Works with Google Slides
Method 2: Creative Cropping with Shapes
Google Slides lets you crop images using shapes, creating a unique and visually interesting effect. Here’s how to do it:
1. Insert Your Image: Click “Insert” on the top menu bar and choose “Image” or “Drive” (to select an image from your Google Drive). Select and upload the image you want to creatively crop.
2. Choose a Shape: Navigate to the “Insert” tab again and select “Shapes.” A dropdown menu with various shape categories will appear. Pick a shape that complements your image and the message you want to convey. Consider geometric shapes, stars, speech bubbles, or even arrows for a dynamic look.
3. Position the Shape: Click and drag the chosen shape onto your slide. Resize and position it over the area of the image you want to show. You can experiment with different shapes and placements to achieve the desired effect.
4. Mask the Image (Here Comes the Magic!): Click on the image you want to crop. Locate the “Format” tab on the top menu bar. In the toolbar, find the “Crop image” button and click the down arrow next to it.
5. Select “Shape”: A submenu with various cropping options will appear. Choose “Shape” from this submenu.
6. Image Takes the Shape: Your image will be instantly cropped to the shape you positioned earlier. The unwanted areas will be hidden, revealing only the part of the image within the shape’s boundaries.
7. Fine-Tuning (Optional):
Adjust Shape Size & Position: You can further refine the effect by resizing or repositioning the shape. This allows you to control how much of the image is revealed within the chosen form.
Image Rotation (Optional): For more creative freedom, try rotating the image before masking it with the shape. Click on the image and use the rotation handle (circular arrow) that appears to experiment with different angles.
Create presentation slides with AI in Seconds in Google Slides
- No design skills required
- 3 presentations/month free
- Don’t need to learn a new software
Works with Google Slides
Closing Thoughts
Cropping images in Google Slides is a straightforward process that can significantly enhance the visual appeal and clarity of your presentations. By following the two methods explained above, you can crop unwanted areas or creatively incorporate shapes to make your images stand out. So next time you’re building a presentation, remember that cropping is a powerful tool to utilize for impactful visuals.
Frequently Asked Questions
Can I edit pictures in Google Slides without messing up the originals?
Yes! Cropping in Google Slides won’t change your original photos stored in Drive.
Are there specific sizes I can crop to in Google Slides?
Yes, Google Slides has common sizes you can pick from, or you can make your custom size.
Can I undo the crop if I don’t like it?
Absolutely! You can go back to the “Crop” option anytime to change it or remove the crop completely.
Is there a limit to how many pictures I can crop on one slide?
There’s no real limit, but keep in mind that too many pictures can make your presentation file large and slow.
What are the masking options available in Google Slides?
You can use different shapes like squares, circles, or even arrows and equations to cover up parts of your picture. Just click the “Crop” icon and pick a shape.
How do you freehand crop a picture in Google Slides?
Unfortunately, Google Slides doesn’t currently support freehand cropping directly within the application. You can only crop to rectangles or pre-defined shapes. For a freehand crop, you’d need to use an external image editing software before inserting the picture into your slides.
